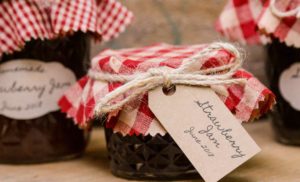
How to Get Started with Canning
From jams and jellies to pickles and sauces, canning is a fun and easy way to take advantage of seasonal produce and enjoy it all year long. Homemade canned goods can also make great gifts. If you’re new to canning, here’s our quick guide to getting started.
This post contains affiliate links, which means we may receive a commission (at no cost to you) if you purchase something we have recommended.
Get the right tools
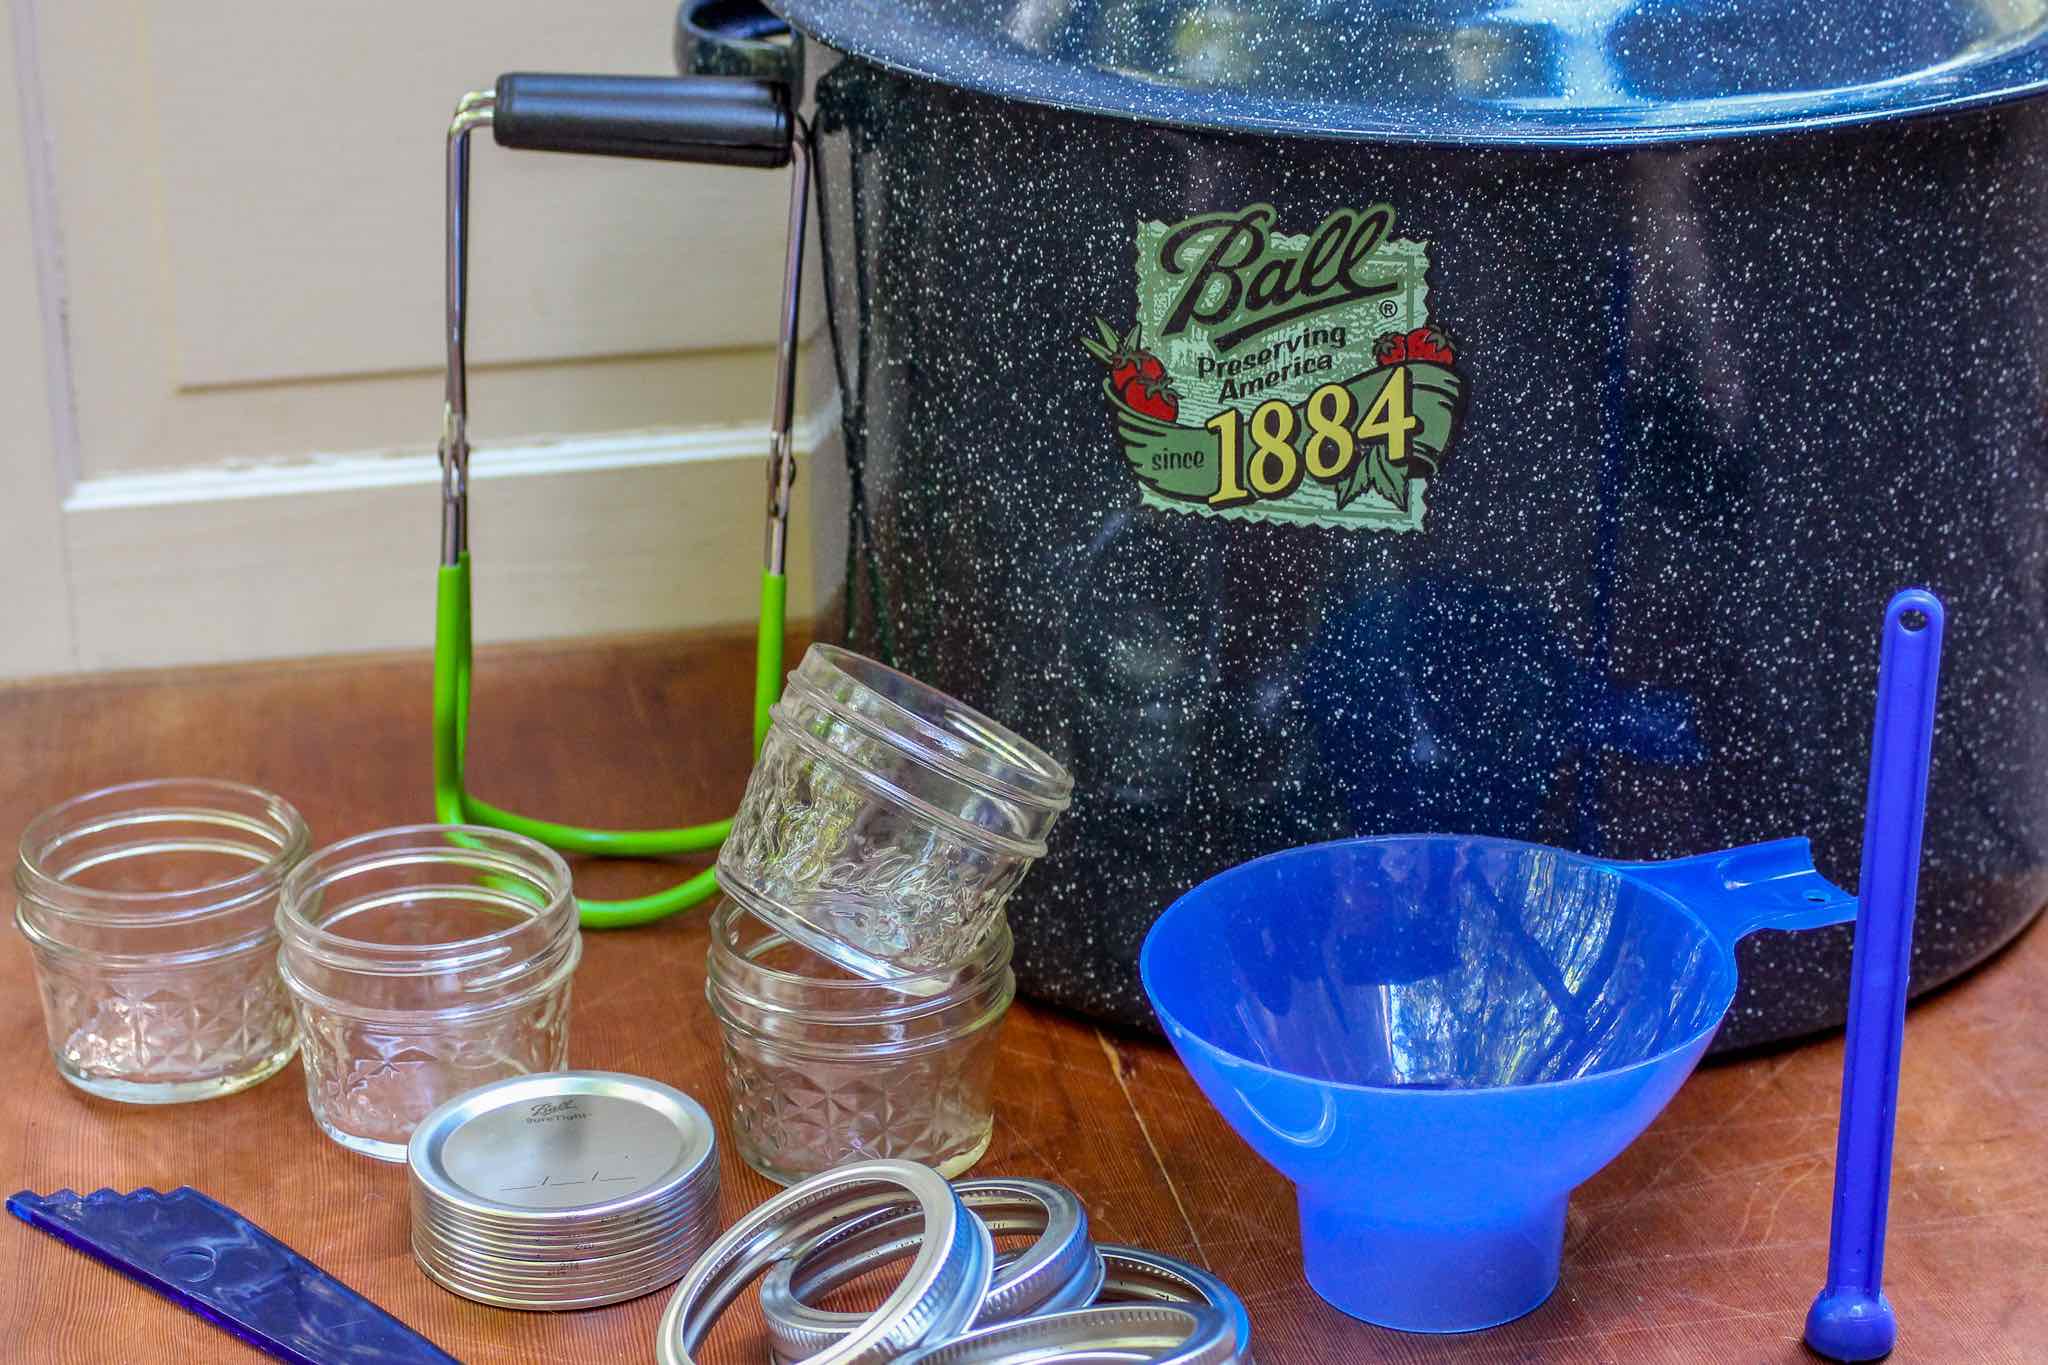
You’ll first need to pull together some specialty tools and supplies.
- A water-bath canner or a large pot with a lid and a cooling rack that will fit inside it. Ball has a great kit that includes the canner and other tools mentioned below.
- A jar lifter to move jars in and out of the canner.
- A lid lifter to remove lids from hot water.
- A bubble remover/headspace tool or a measuring tape and wooden chopstick.
- A wide-mouth funnel to make ladling easier.
- The appropriate number and size of jars for your recipe. Ball has a variety of styles that range from traditional to trendy. If you are re-using jars, make sure they don’t have any chips or cracks – this isn’t a good time to use antiques.
- Jar bands that are the right size (regular or wide mouth) for your jars. If re-using bands, ensure they are not rusty or dented.
- New lids in the correct size (regular or wide mouth) if your jar bands are used or didn’t come with lids. Do not reuse lids or use lids older than a year.
Prepare your kitchen
After picking out your recipe and getting all the ingredients for it, you’ll also want to make sure you have these common kitchen items handy.
- Large wooden cutting board or thick kitchen towels to place hot jars on
- Potholders
- Clean cloth
- Pot or saucepan
- Small glass baking dish
- Measuring cups and spoons
- Spoon rest
- Wooden spoons
- Slotted spoon
- Small spoon for skimming
- Ladle
- Timer
Start canning!
While your recipe will have very specific steps and instructions that are extremely important to follow, here is an overview of the general canning process.
- Wash your jars, bands, and lids, in hot soapy water.
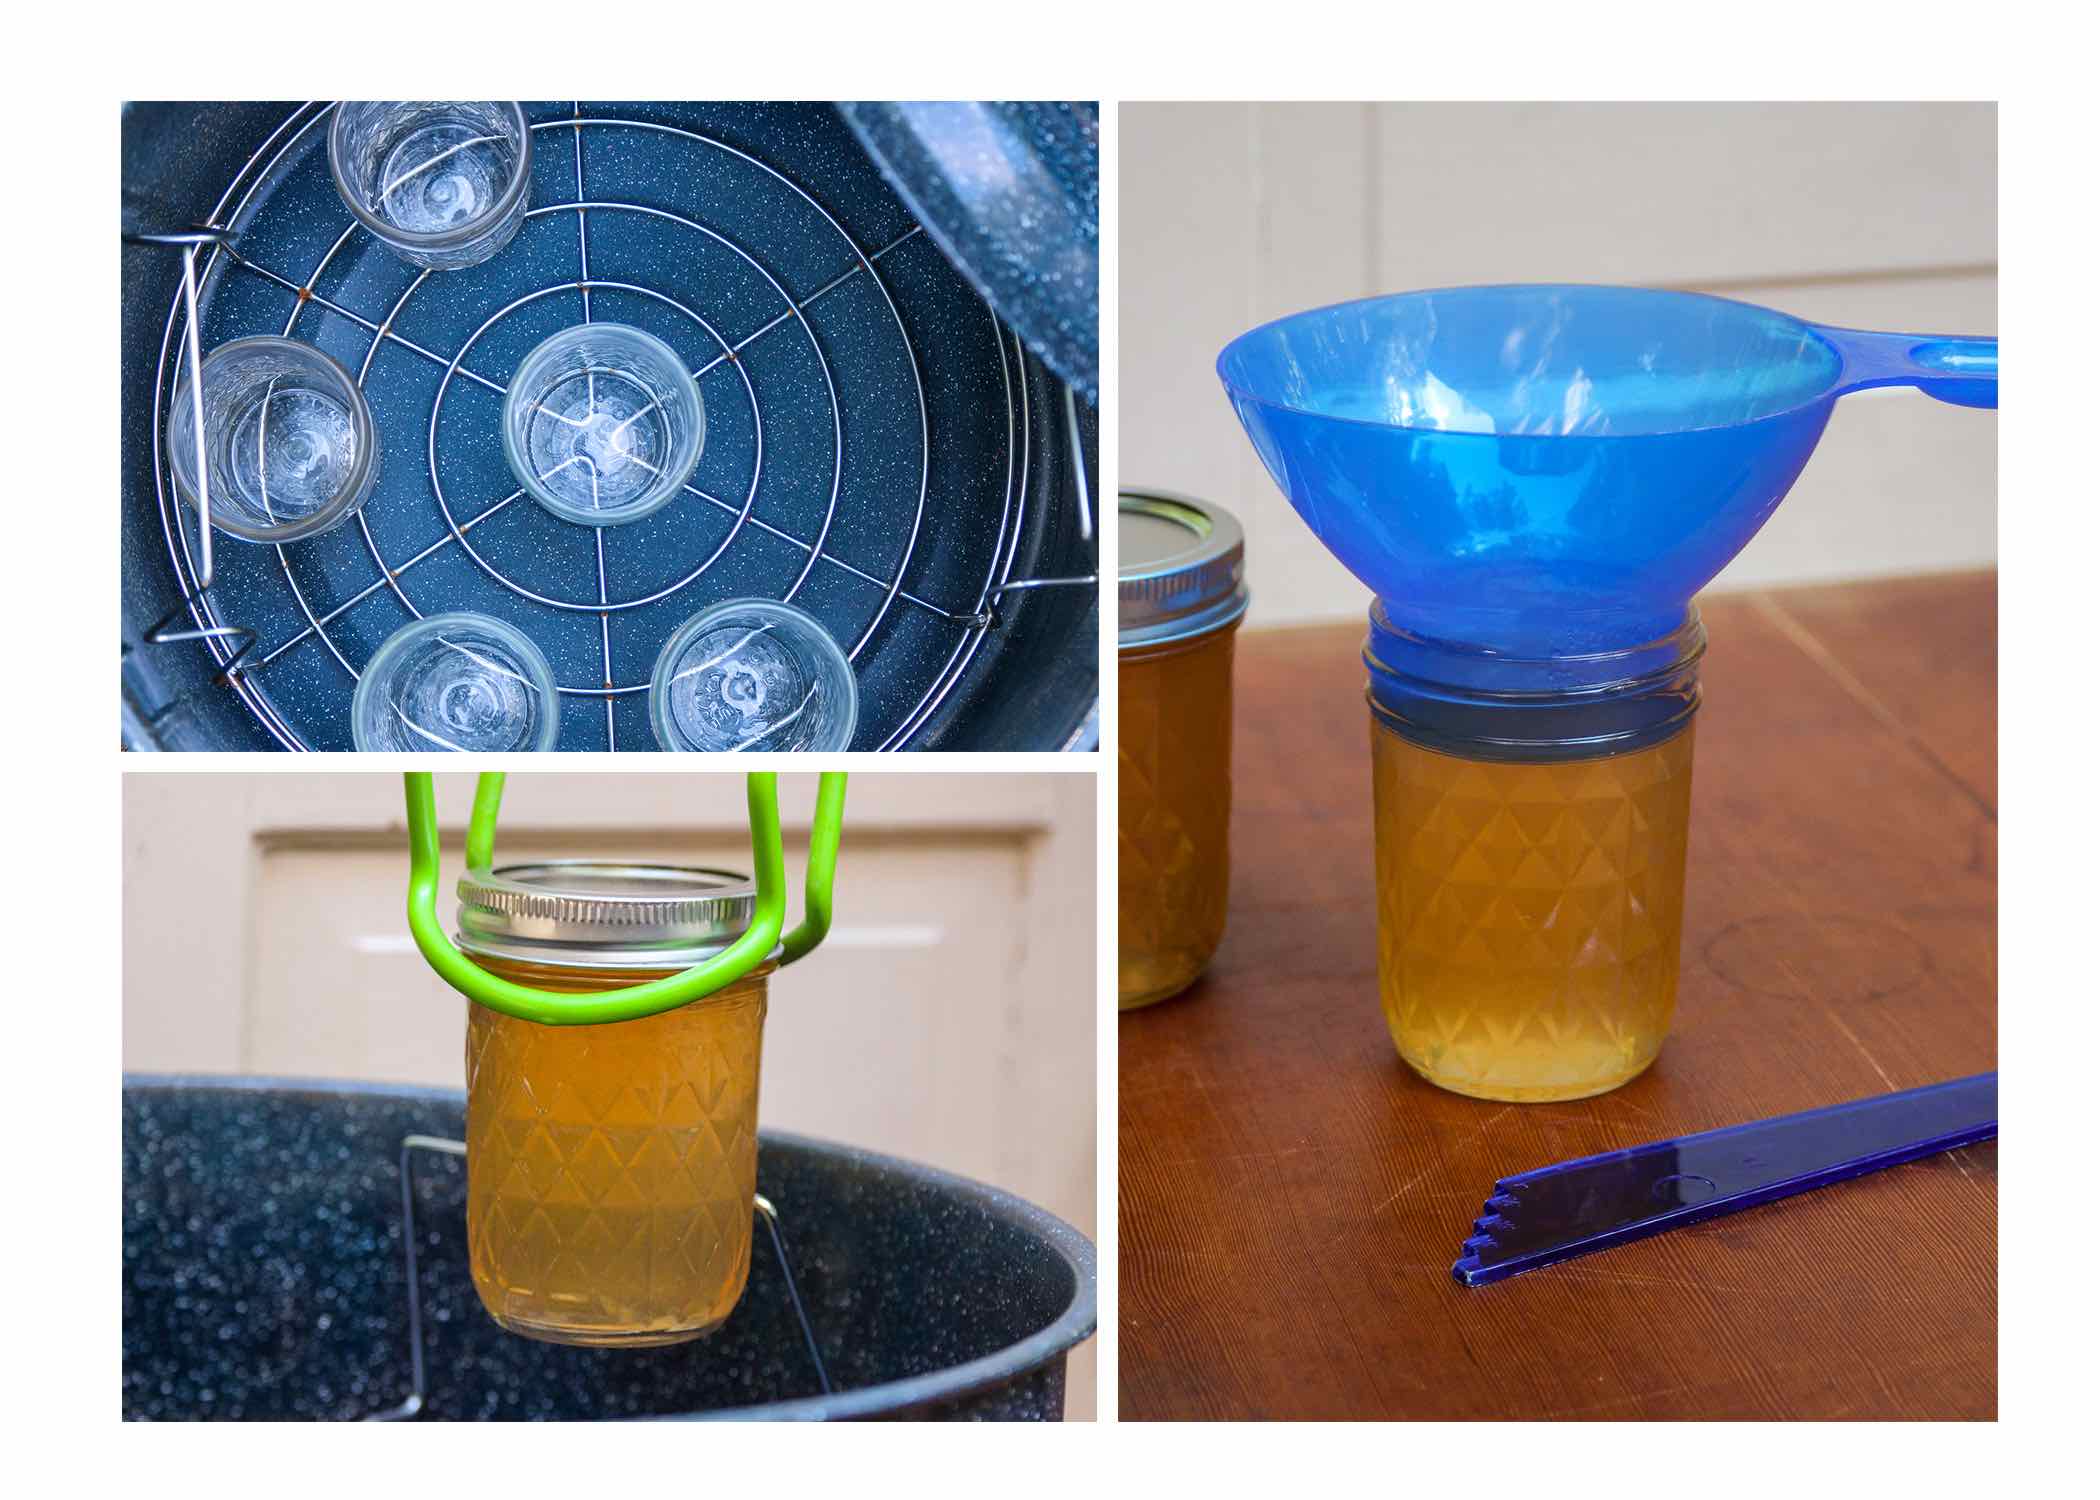
- Fill your canner with hot water to a depth of at least 2 inches above your jar height. Place your jars on top of the rack inside the canner. Cover and bring to a boil over high heat. Boil at least 10 minutes to sanitize the jars.
- Place your lids in your small baking dish, being careful to spread them out.
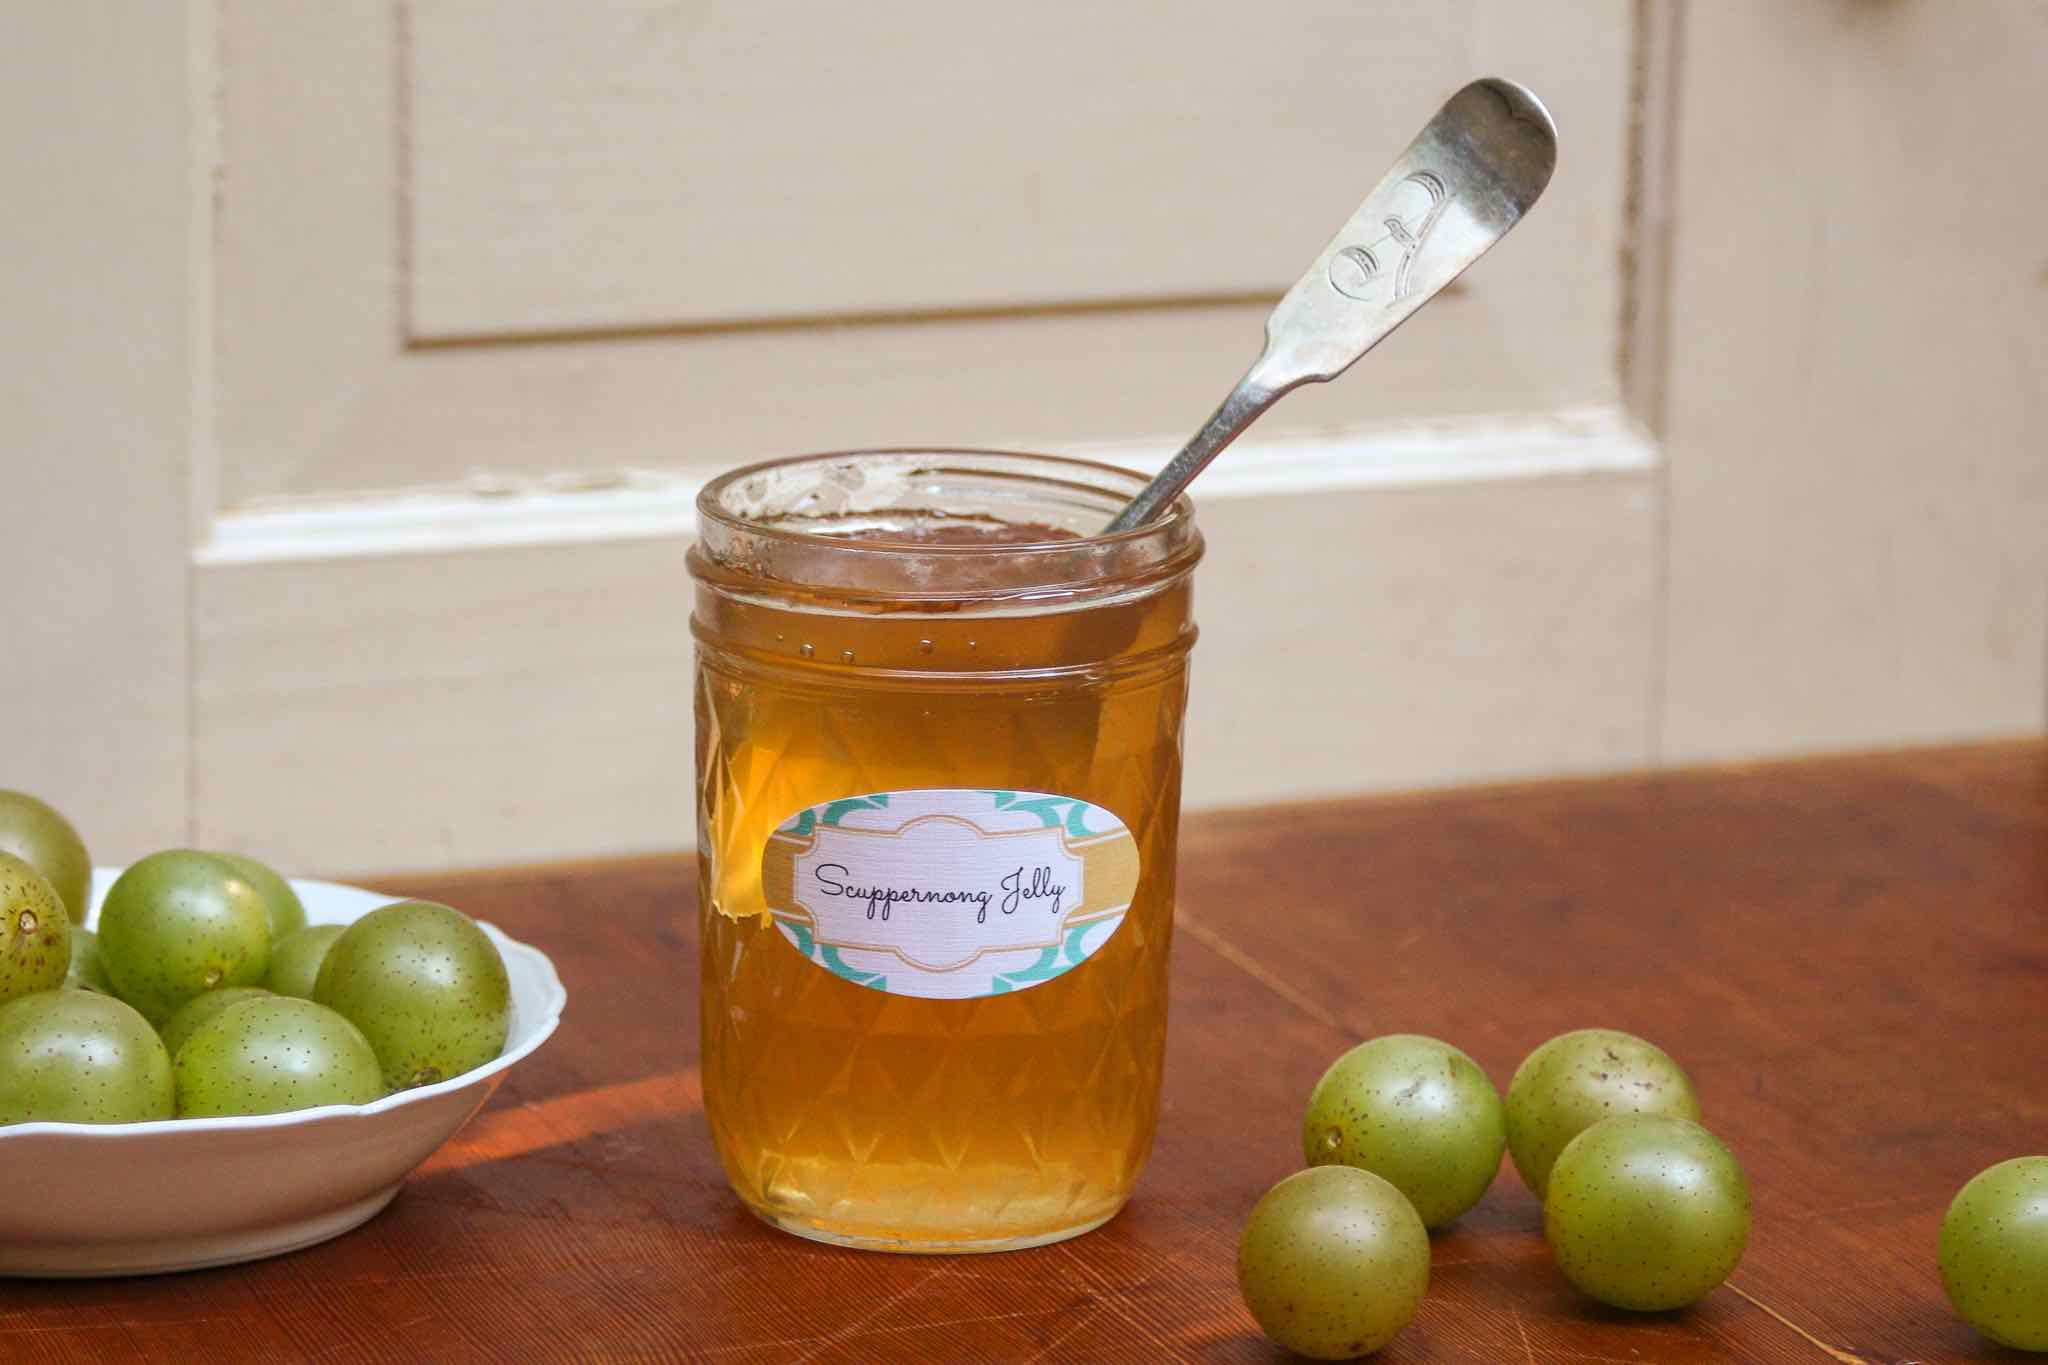
- Prepare your recipe. Timing and efficiency is important here as you need hot food going into hot jars.
- Using your jar lifter, remove the jars from the canner, fully emptying the water from them back in, and place on your cutting board or towel. Ladle enough water from the canner to cover your lids in their dish. Cover the canner again and maintain at a simmer.
- Ladle your prepared recipe into your jars, leaving the appropriate amount of headspace. Remove bubbles from jars if specified.
- Wipe the top and rings of your jars with a damp cloth, and, using your lid lifter, place on a lid.
- Cover the lids with bands and fully tighten, being careful not to tip the jar.
- Place jars back in the canner, making sure there is still at least 2 inches of water above the jars.
- Cover the canner, bring to a boil again, then boil for the amount of processing time specified in your recipe.
- Shut off the burner, remove the lid from the canner, and let it sit for 5 minutes.
- Carefully remove the jars from the canner and place back on your cutting board or towel.
- Let the jars sit undisturbed for 24 hours and then remove the bands to check that the lids are sealed. Jars with lids that are not sealed are not safe to store.