How to Use a Camp Dutch Oven
A camp Dutch oven is a great way to expand what you can cook while you’re camping. If you’ve never used one before, here’s our quick guide to getting started. For more about camp cooking in general, check out The Camp Kitchen.
This post contains affiliate links, which means we may receive a commission (at no cost to you) if you purchase something we have recommended.
Choose the right size
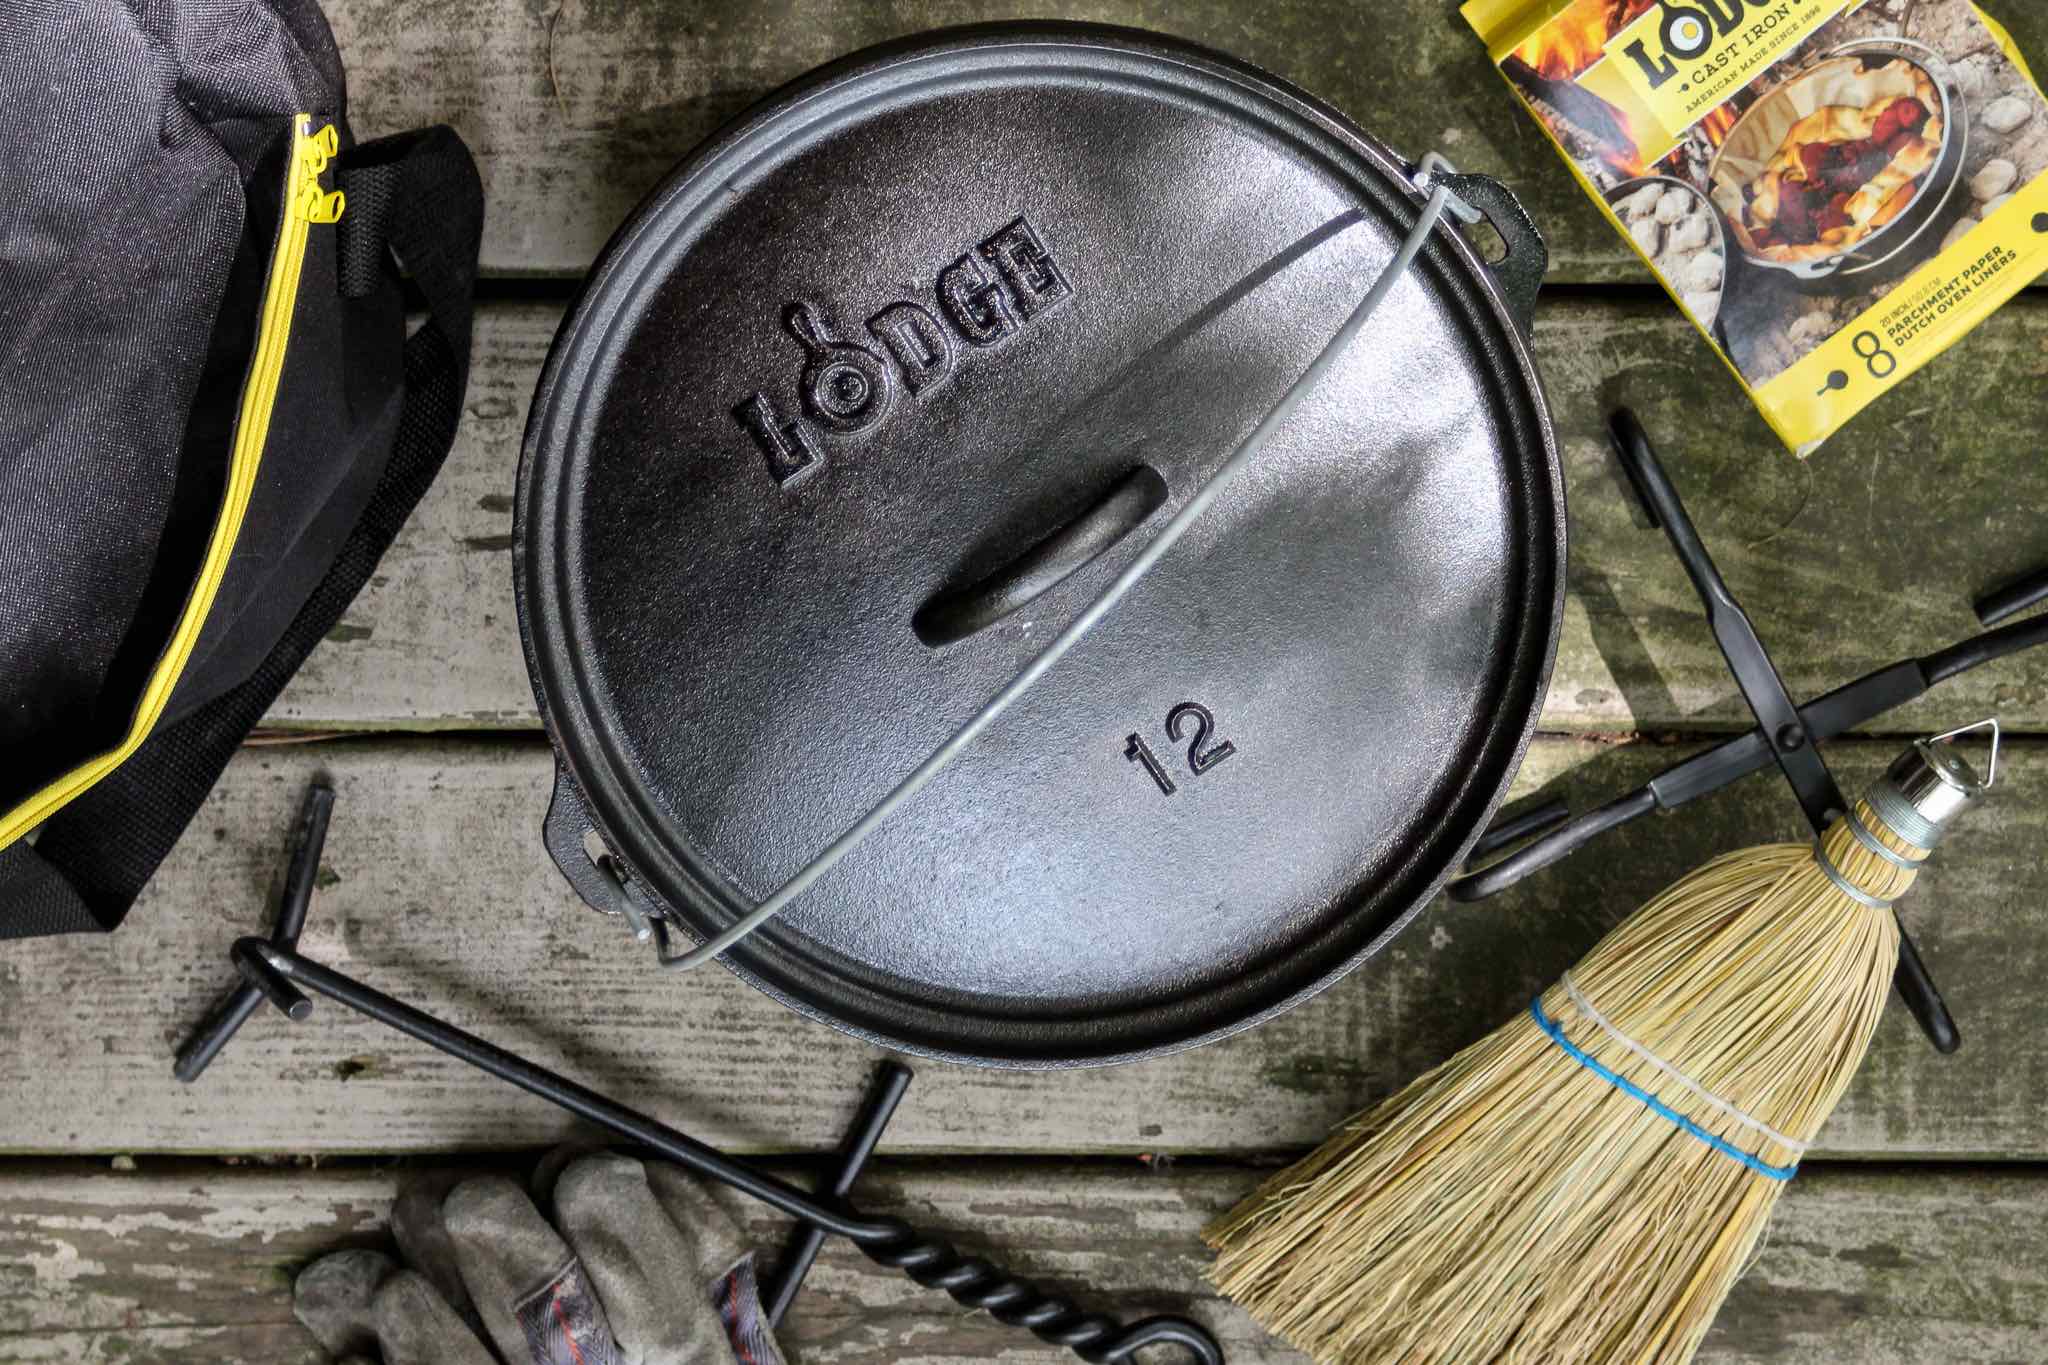
Camp Dutch ovens come in a variety of sizes and you’ll want to pick one (or two!) based on what you are making and how many people you are feeding. We have a small 8-inch (2 quart) oven for biscuits, cornbread, and vegetable sides, and a 10-inch (5 quart) oven for main dishes. We are usually cooking for four, so if you have a larger group you may want to look at 12-inch or 14-inch ovens.
Get the right tools
While you might think a lot of the available Dutch oven accessories aren’t necessary, many of them really do make camp Dutch oven cooking much easier.
- A lid lifter allows you to easily pick up the oven lid to rotate it or check on food.
- A lid stand keeps you from having to set your oven lid in the dirt.
- A pan scraper can help you get off stuck-on bits of food, while a scrub brush does a thorough cleaning.
- A pack of Dutch oven liners will reduce the clean-up needed for messier recipes.
- A charcoal chimney starter allows you to get your coals ready more quickly as well as prepare additional coals for long-cooking recipes.
- A large pair of tongs moves around hot coals with ease.
- A small whisk broom helps to remove ashes from the oven lid.
- A tote bag makes it much easier to lug around and store your oven.
Before the first use
Your camp Dutch oven should come pre-seasoned so all you need to do is rinse and hand dry it, then apply a light coat of vegetable oil.
Prepare your coals
You’ll first want to figure out how much charcoal you will need for what you are cooking. Here are amounts for some of the common Dutch oven sizes and cooking temperatures.
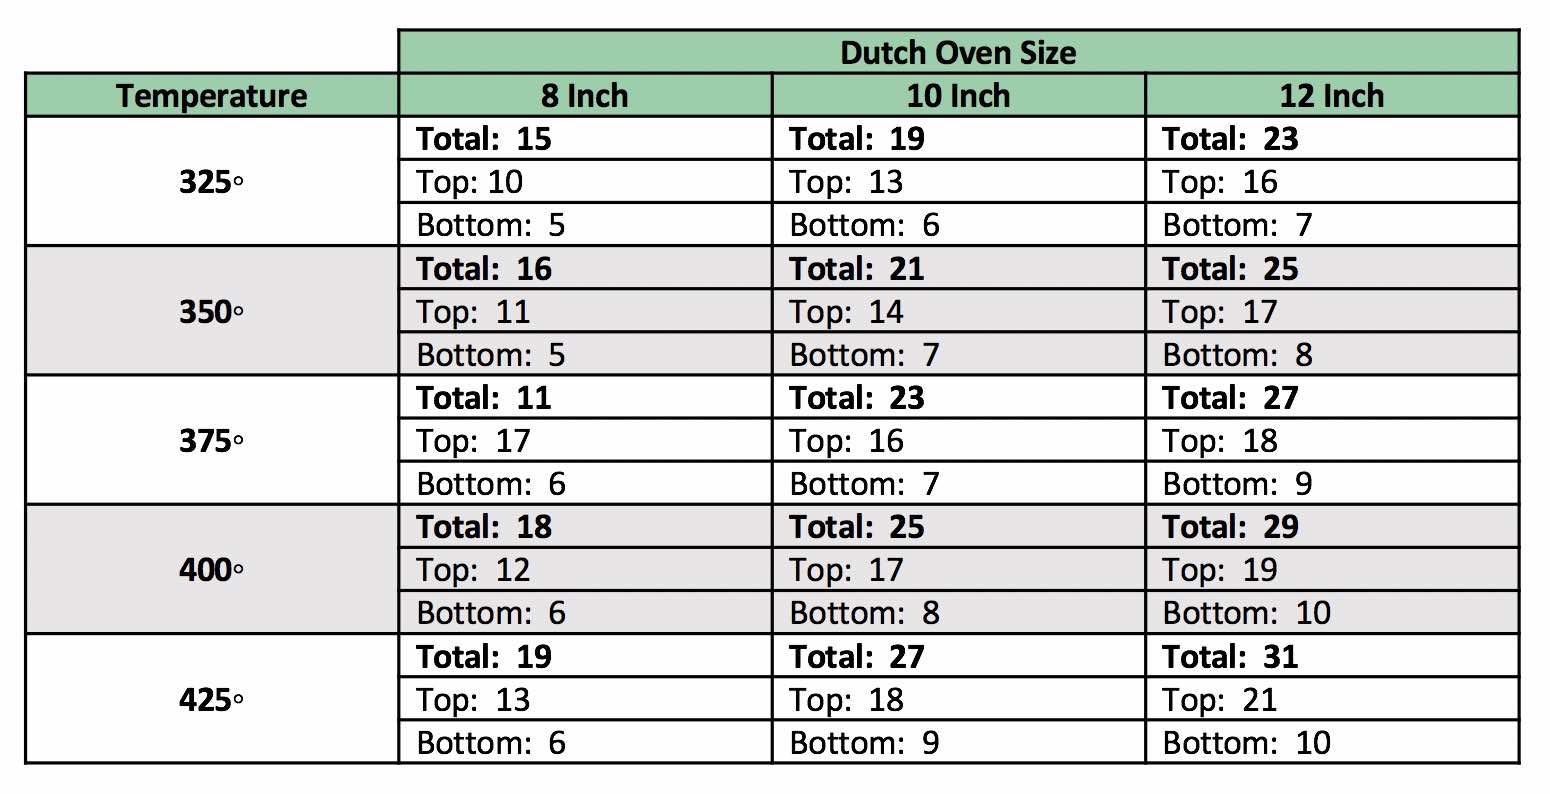
Keep in mind that if your recipe cooks for longer than 45 minutes, you may need to prepare a second round of coals so you can replace any that begin to die down.
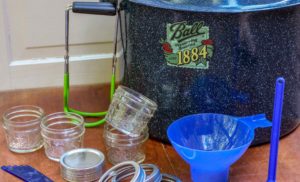
After adding the appropriate amount of charcoal to your charcoal chimney, crumple up newspaper and stuff it into the bottom of the chimney. Then just light the newspaper and wait. It normally takes about 20 minutes for the coals to get hot.
Start cooking!
Plan to do your Dutch oven cooking in a fire-safe area that is as out of the wind as possible. Most campsites have a fire ring that works well for this.
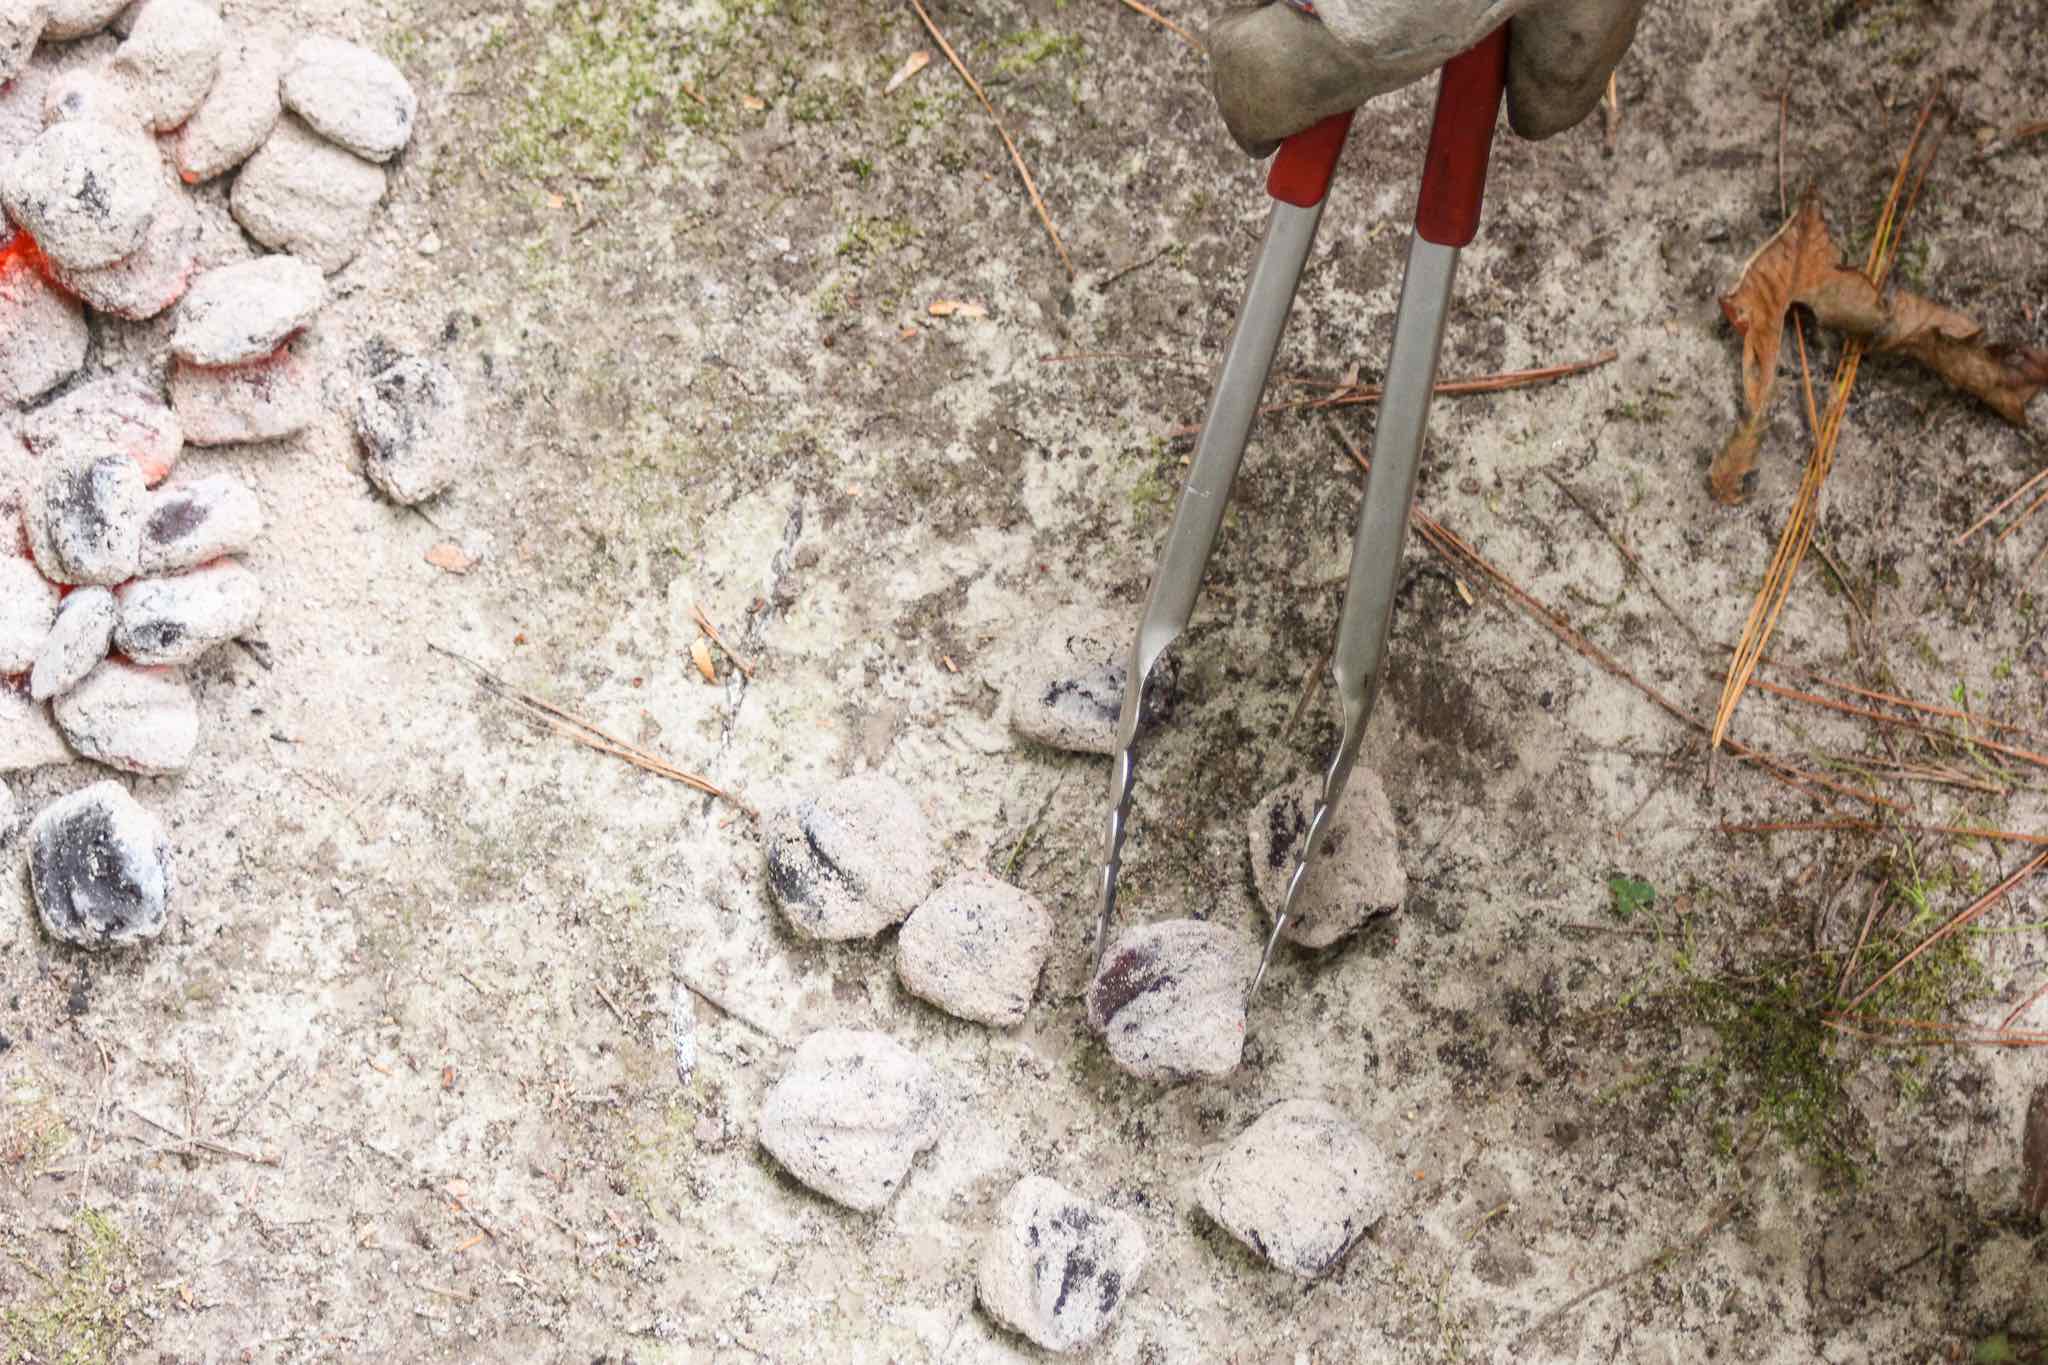
Using your tongs, lay the appropriate number of bottom coals out in a single layer versus piling them up. They should be in a loose checkerboard pattern roughly the diameter of your Dutch oven.
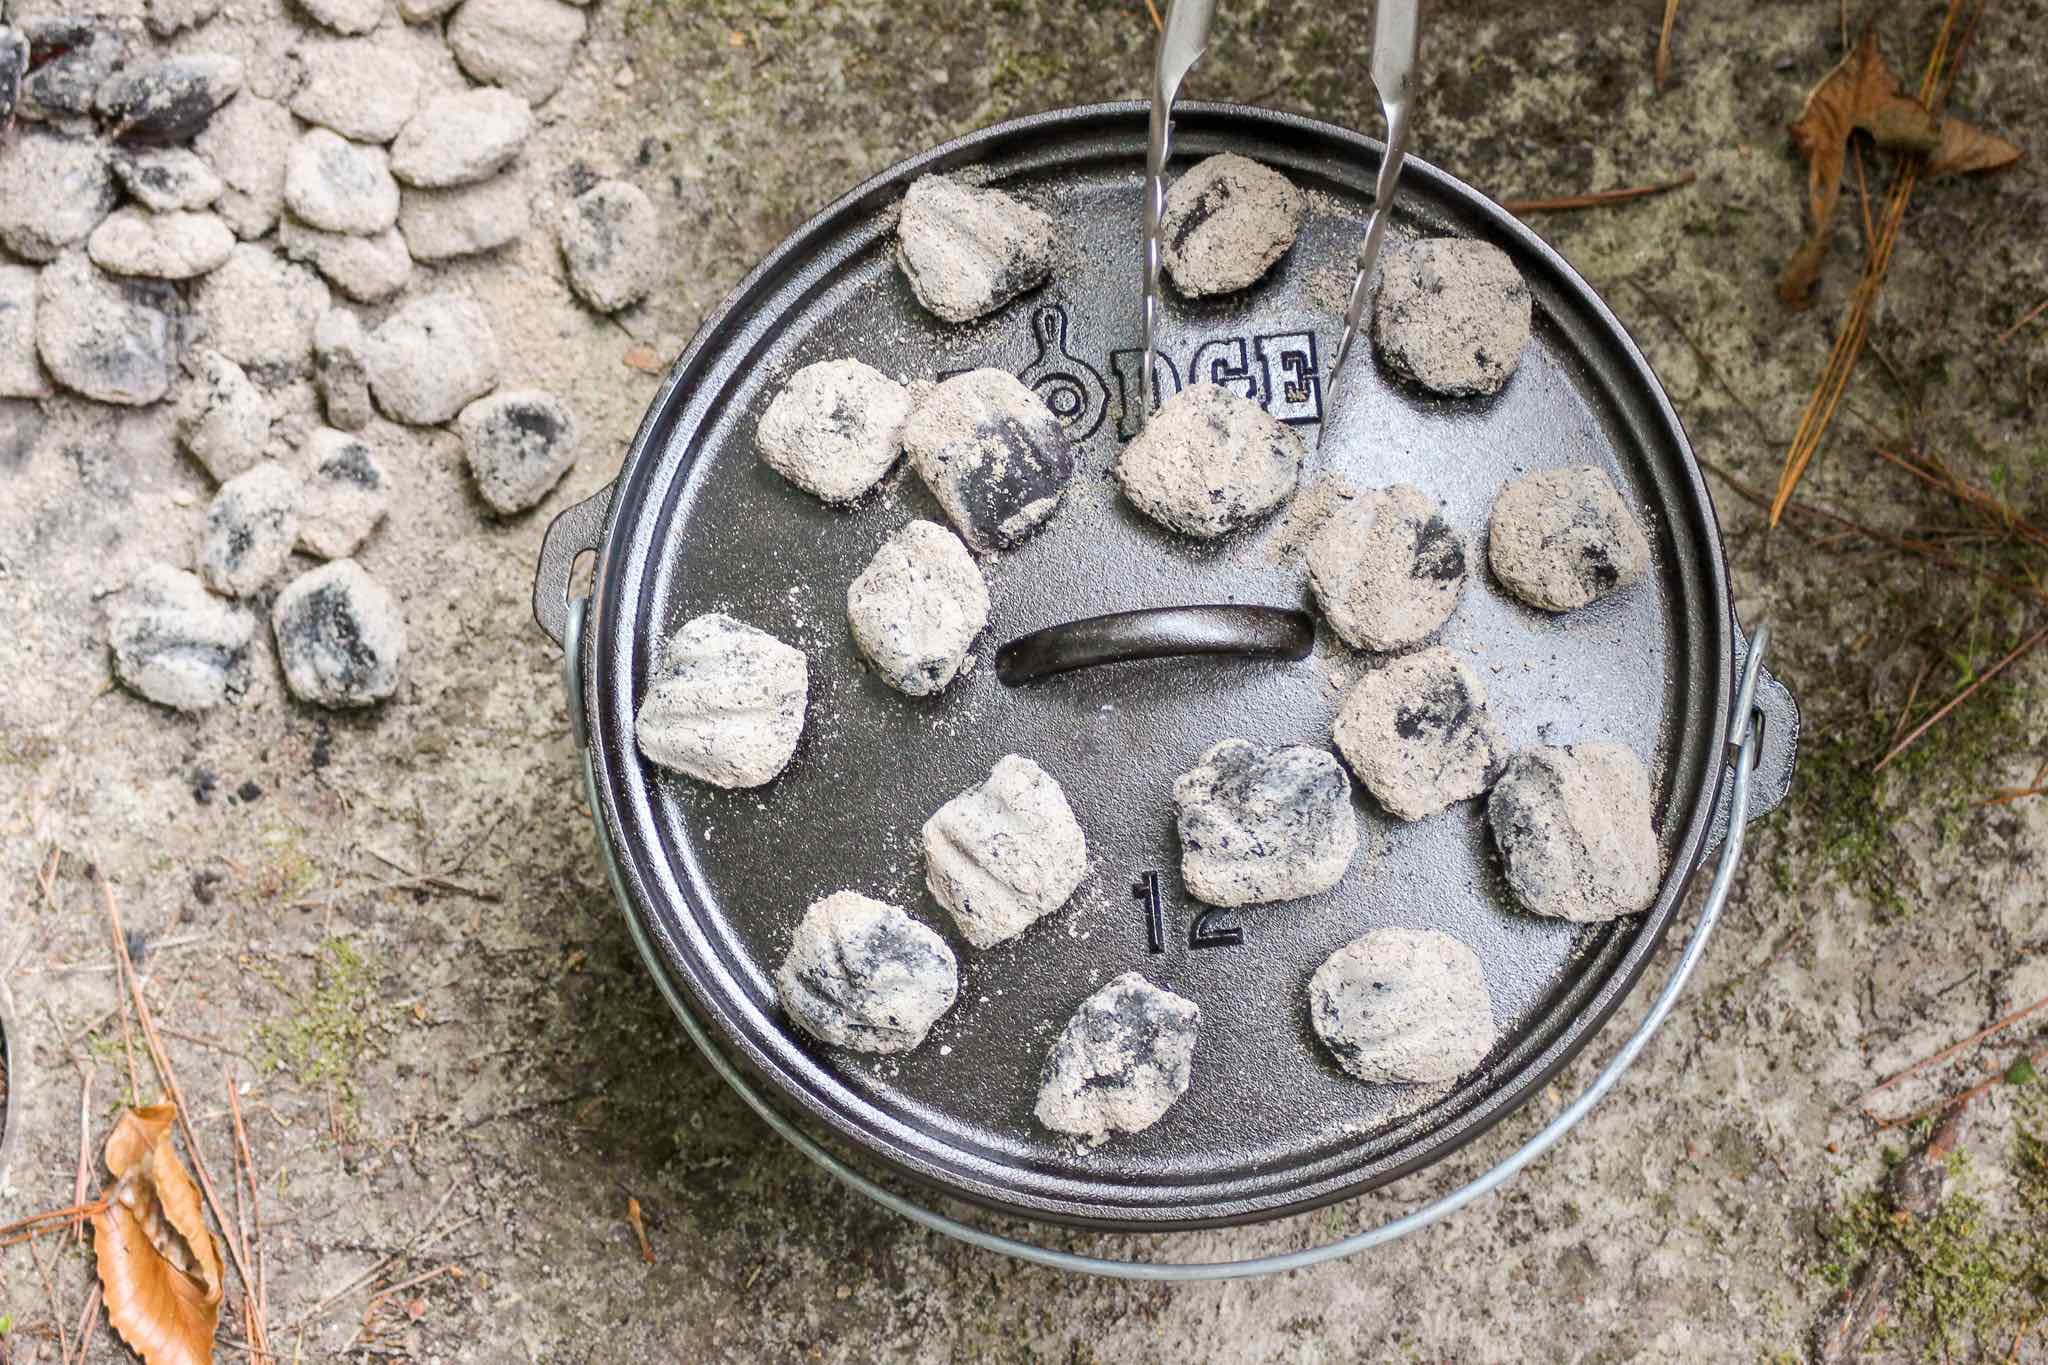
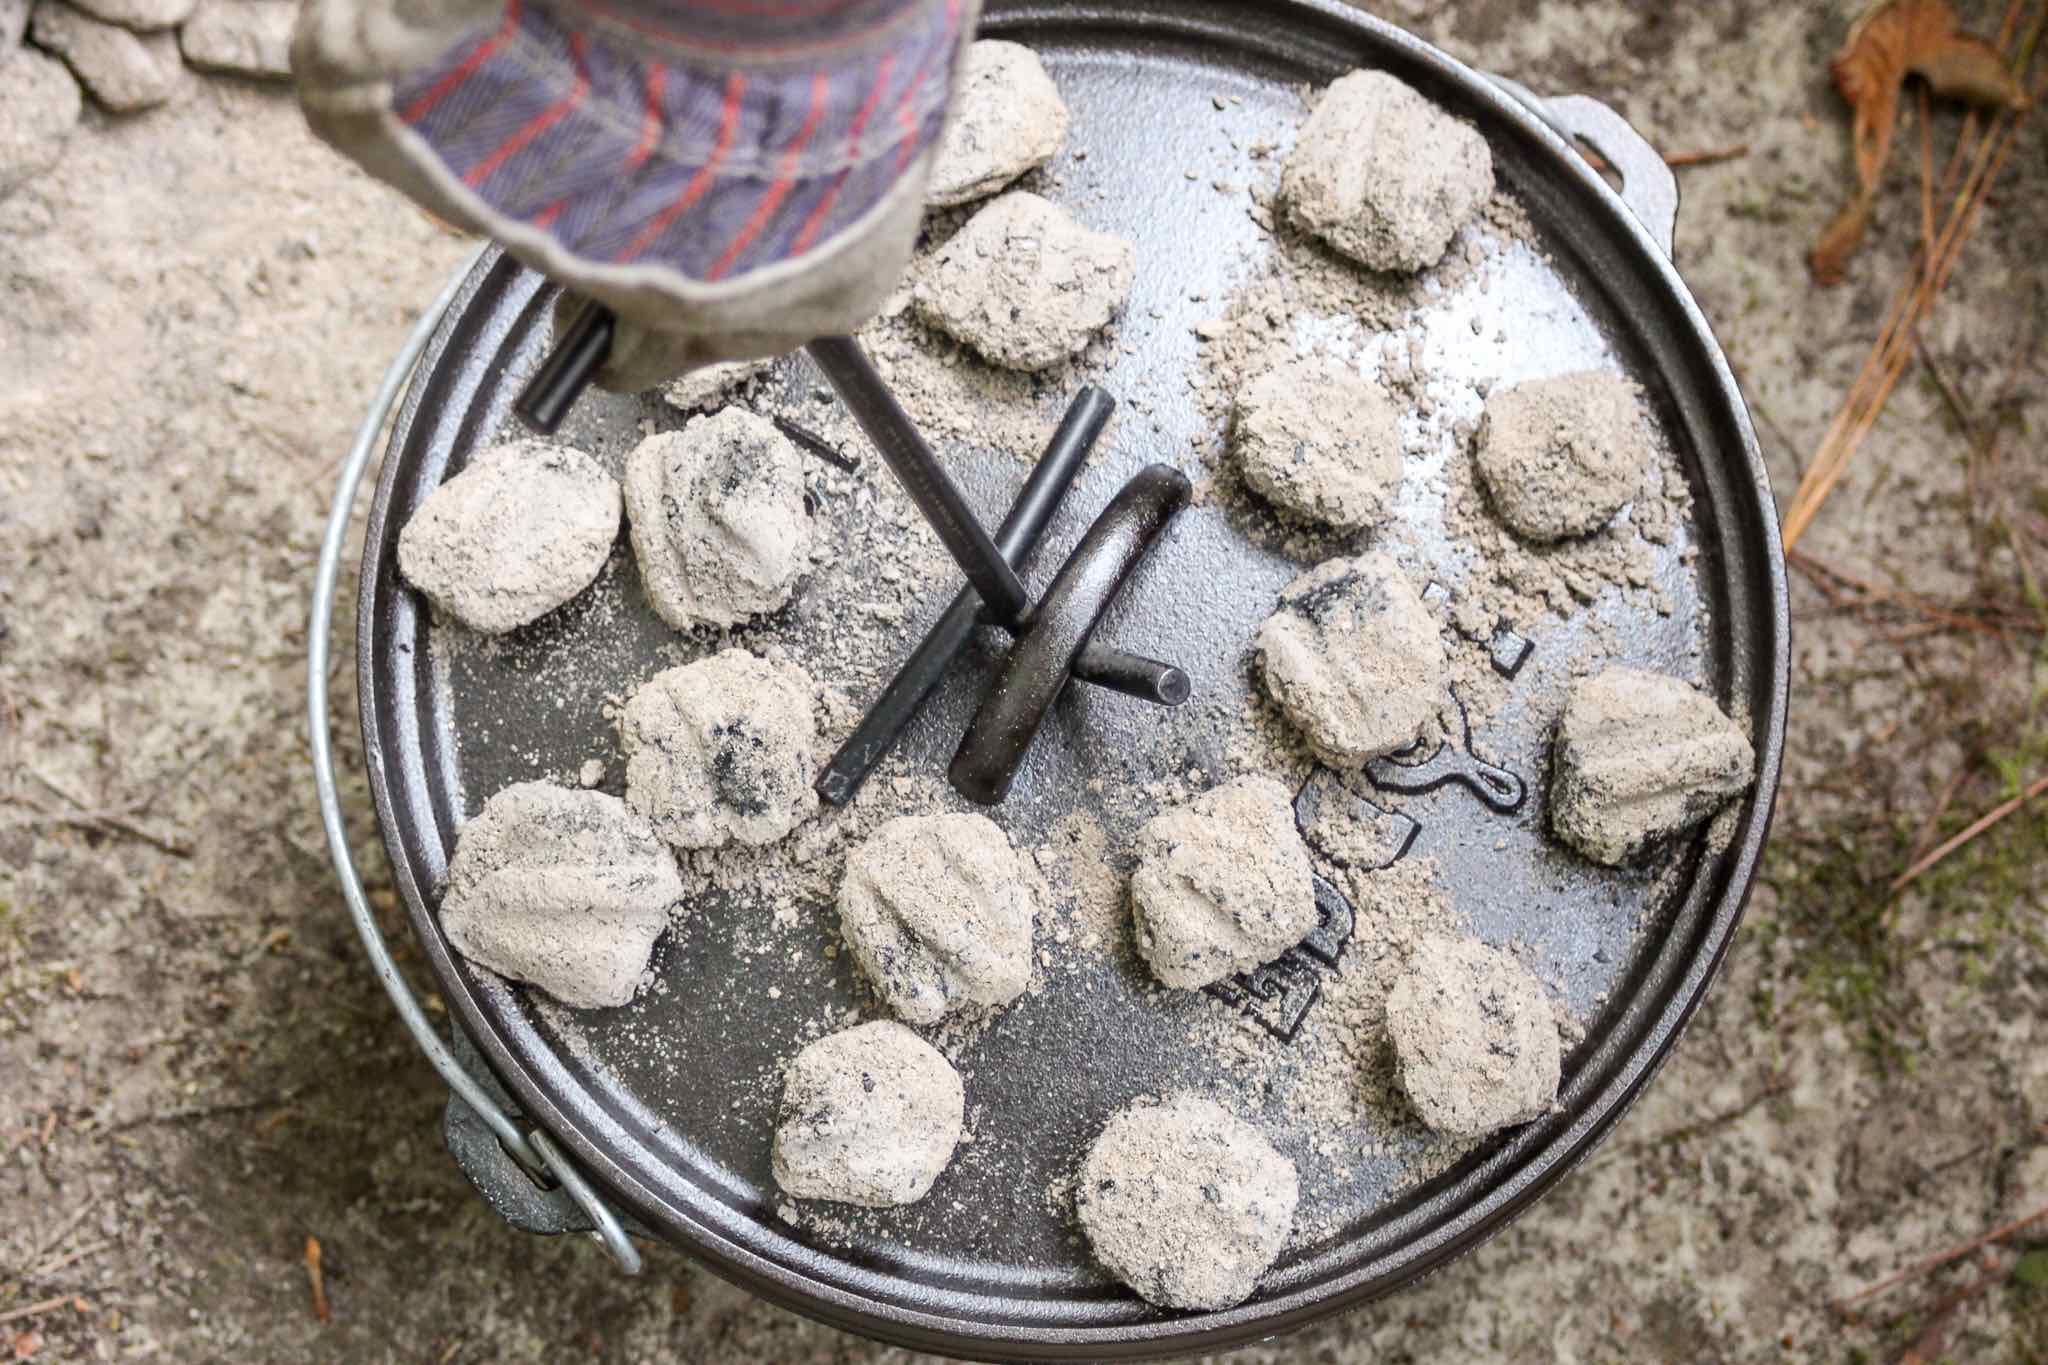
Set your Dutch oven over the coals and then add the necessary top coals to the lid in the same single layer, checkerboard pattern.
To make sure your food cooks evenly, you will want to rotate both the oven and lid every 15 minutes. Give each an approximate ¼ turn in the opposite direction. This is also a good time to check and ensure your food is cooking at the expected pace. Just be sure to use your whisk broom to remove any loose ash from your Dutch oven lid first.
For longer cooking recipes, keep an eye on your coals and replace them as needed.
After each use
You’ll want to clean your Dutch oven while it is still warm. We use our pan scraper first, then our bristle brush. Lodge says you can use water and a little mild dish soap if needed after the oven has cooled, but we’ve never had to. After a final wipe with paper towel, we finish up with a light coat of vegetable oil. Be sure to store your Dutch oven somewhere dry.
Need some recipes to get you started? Try out our Dutch Oven Nachos or Peach Baked Oatmeal.