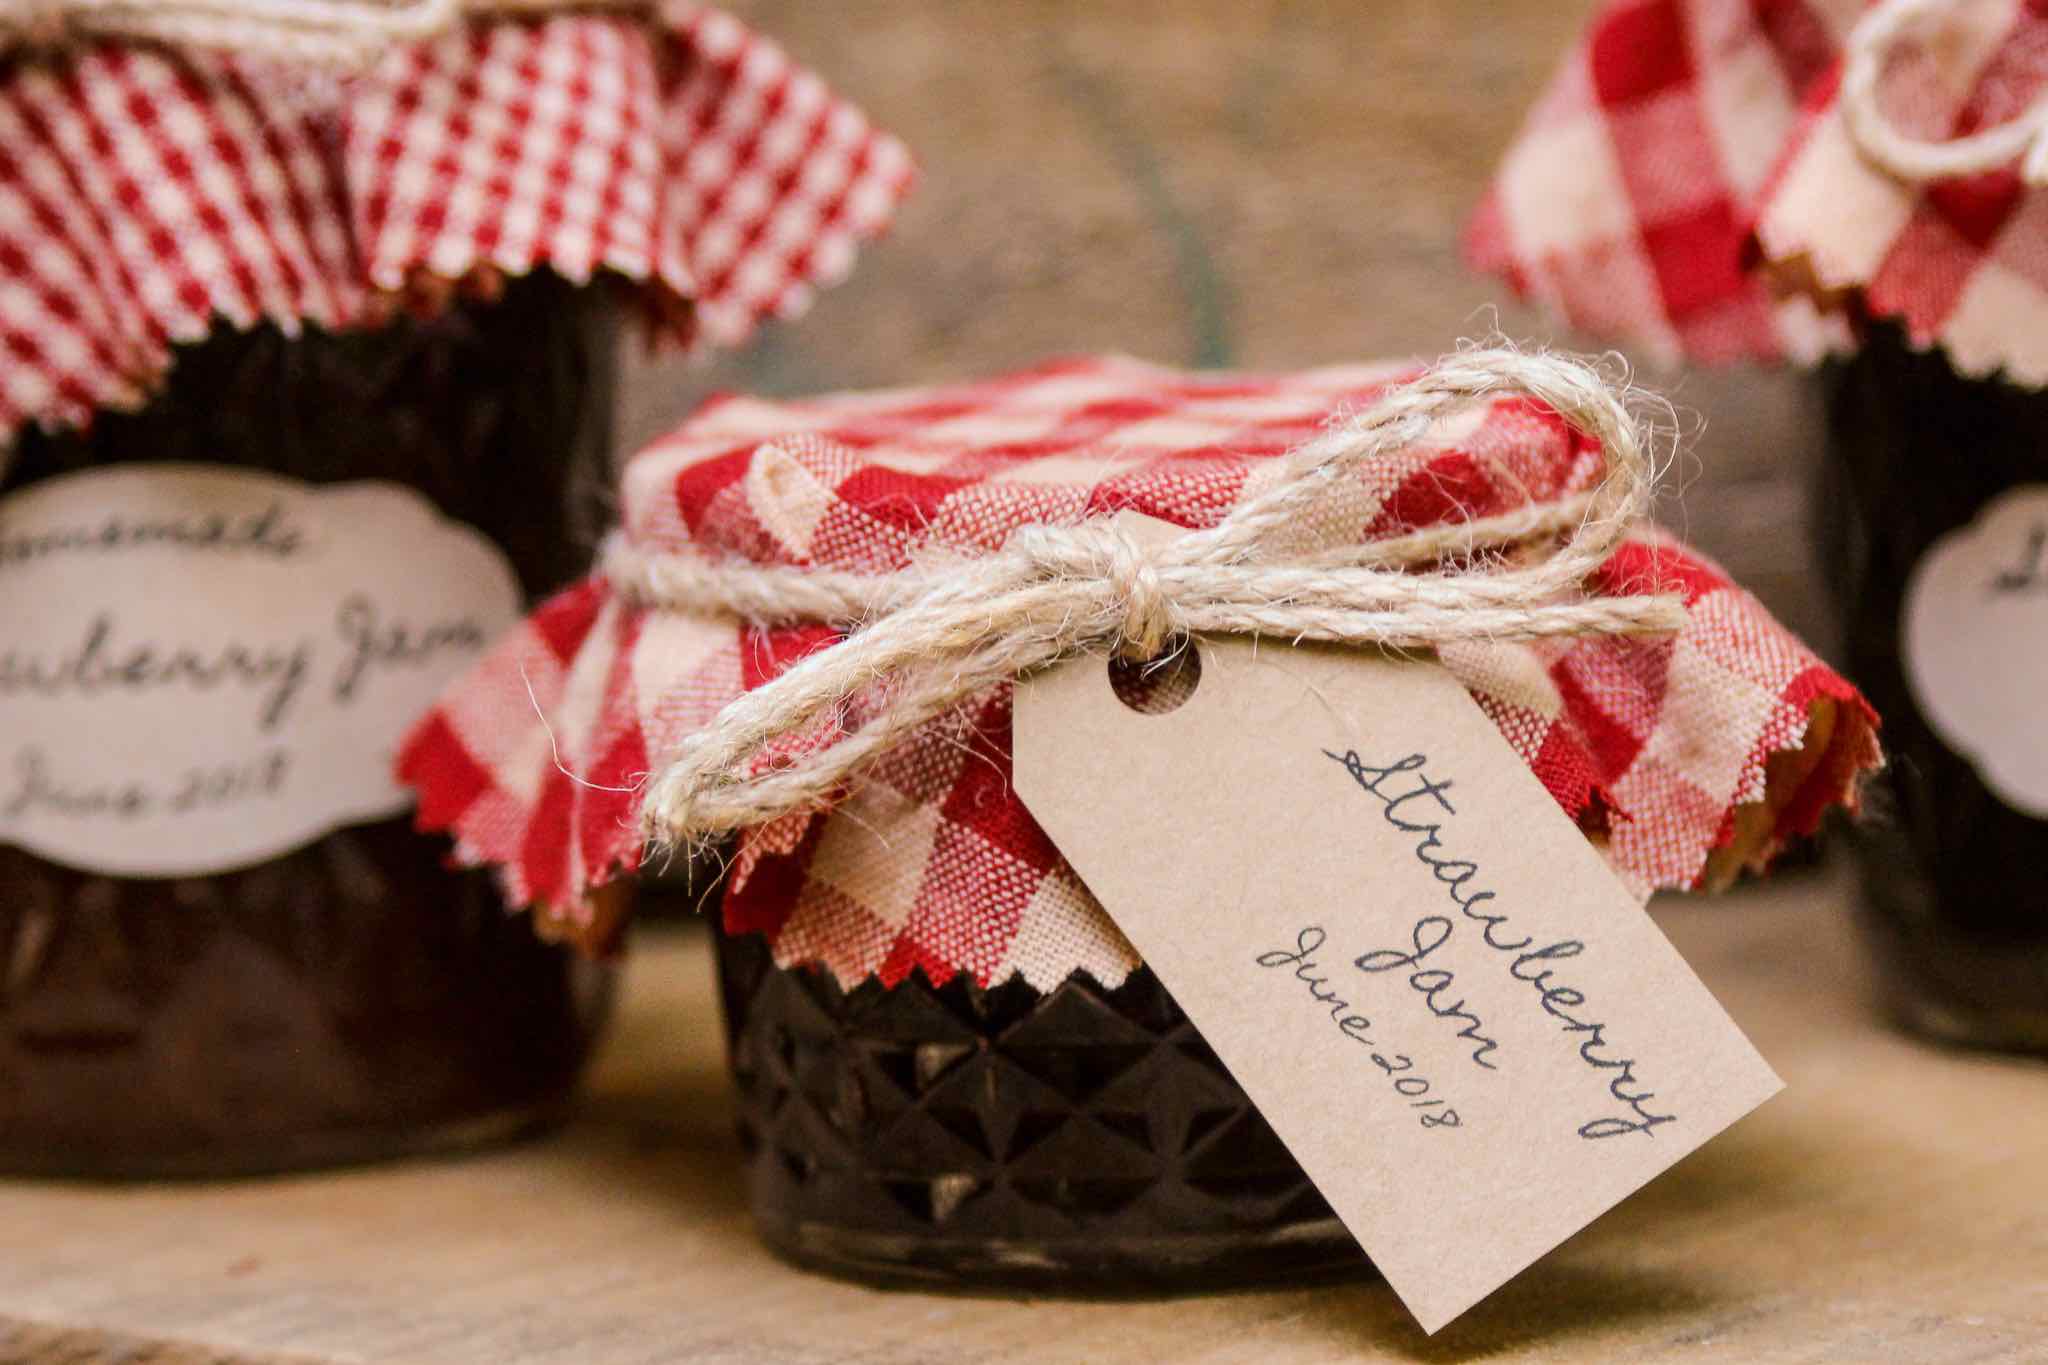
How to Make Fabric Jam Jar Covers
If you’ve put in the effort to make homemade jam, you’ll likely want to gift some to friends and family. Making a fabric jam jar cover is a quick and easy method to dress up your jars so they’ll look as sweet as they taste.
This post contains affiliate links, which means we may receive a commission (at no cost to you) if you purchase something we have recommended.
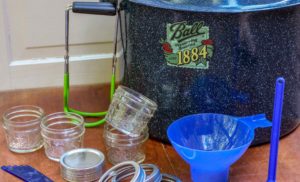
These supplies will make covers for six 8 oz jam jars. If you’re using smaller 4 oz jars, you will want to decrease the diameter of your fabric circles to about 5 inches.
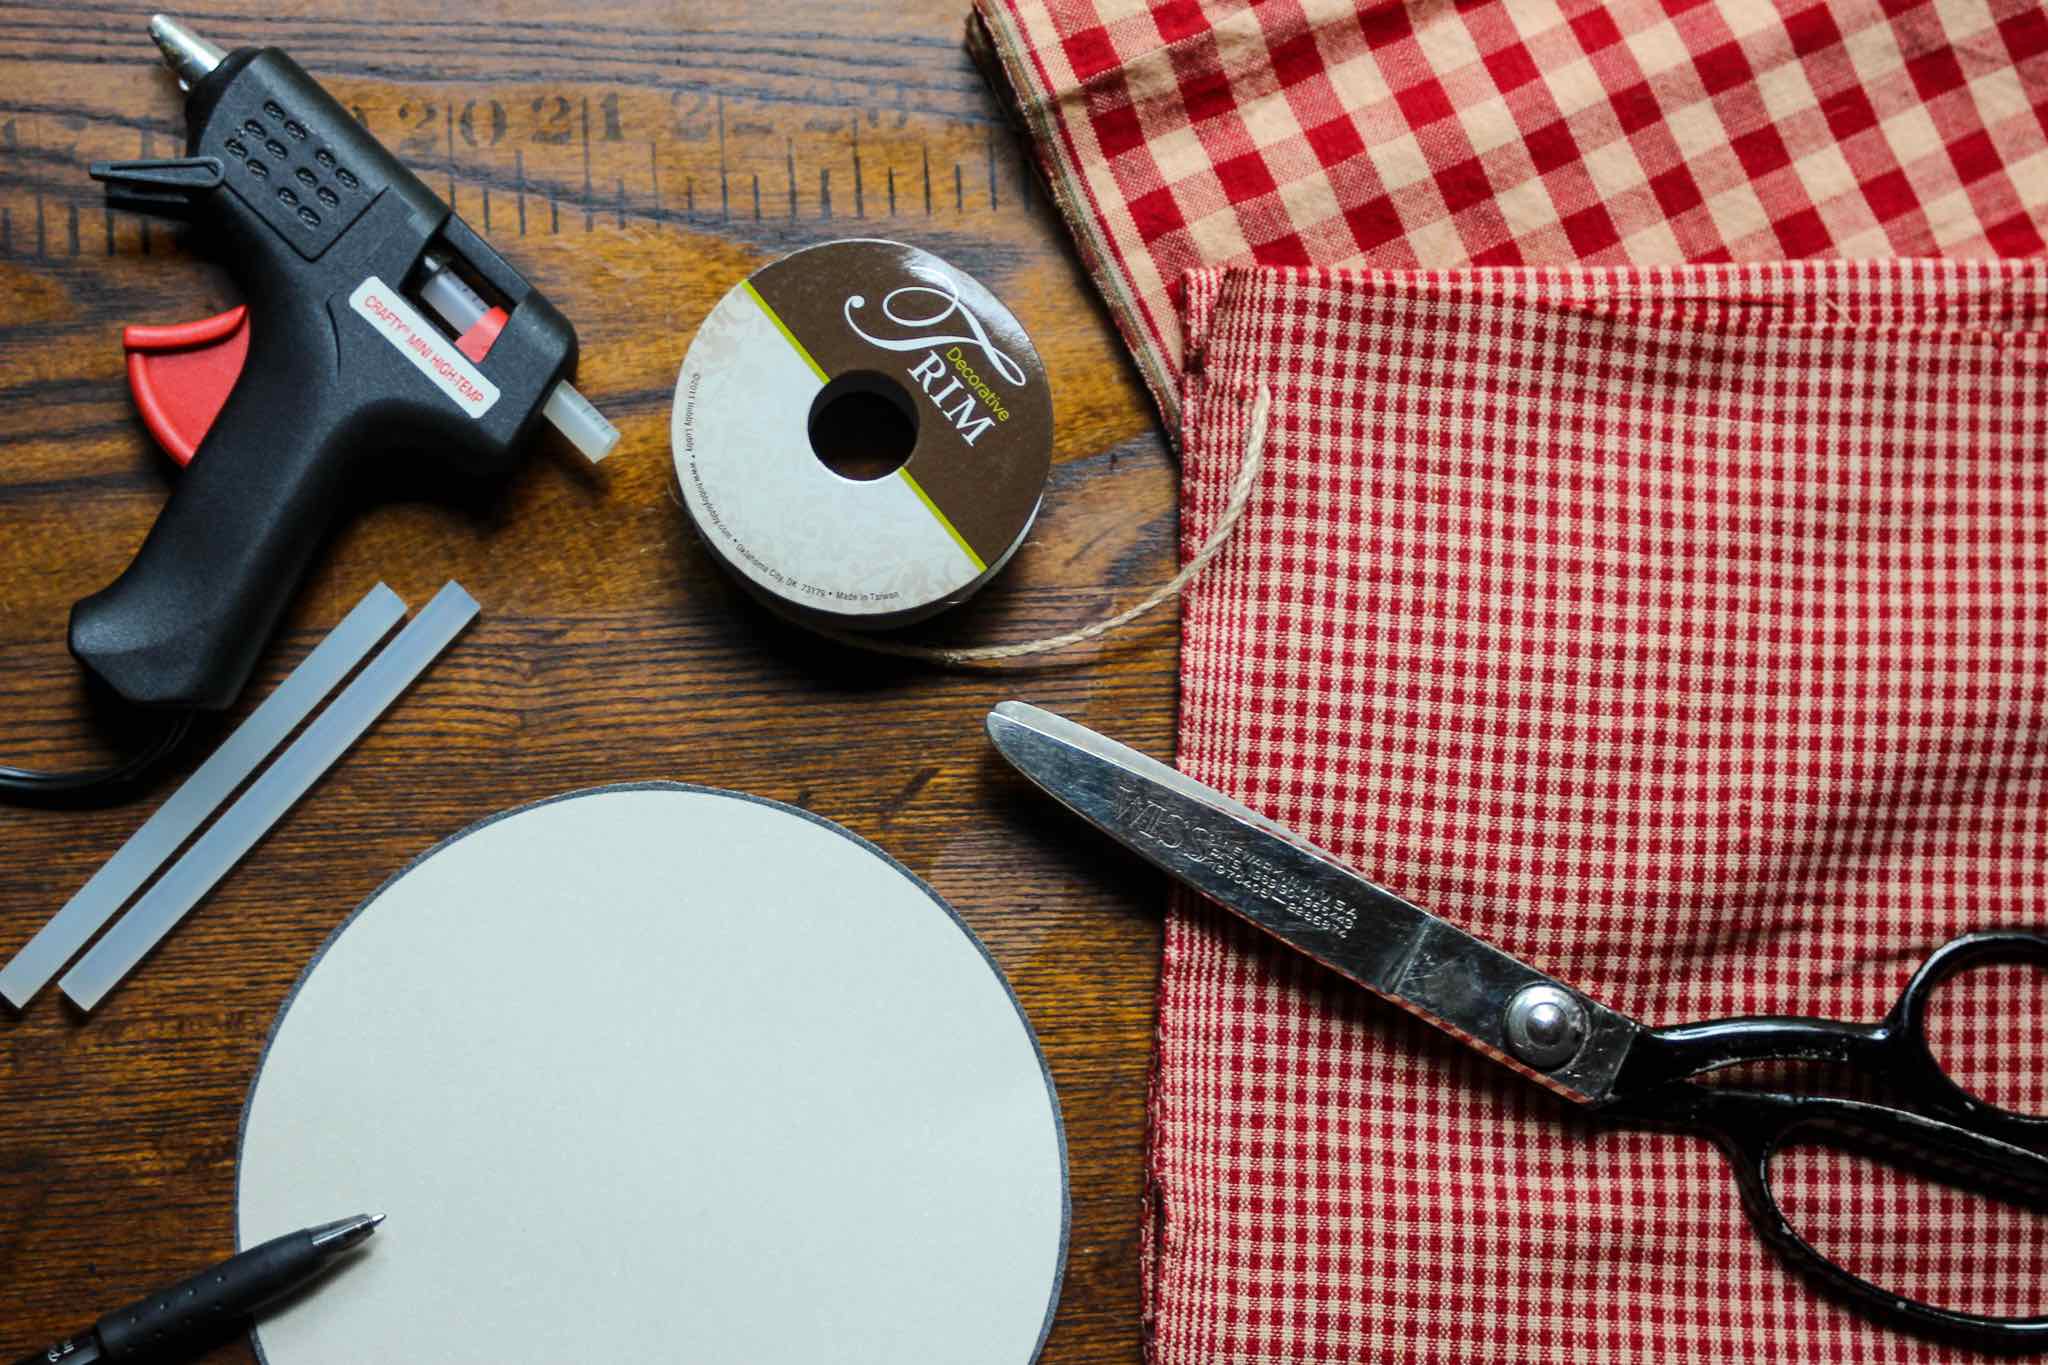
Supplies
- 9-feet thin ribbon, twine, lace, or raffia
- 8-inches x 43-inches fabric – I just buy a half yard of fabric and save the extra for another project
Equipment
- Pinking shears – I use these to reduce fabric fraying, but regular shears will also work
- Craft/low-temp glue gun and glue sticks
- Pen
- Something circular with an approximately 6-inch diameter to trace – you can download and print out this template on cardstock and cut it out
Instructions
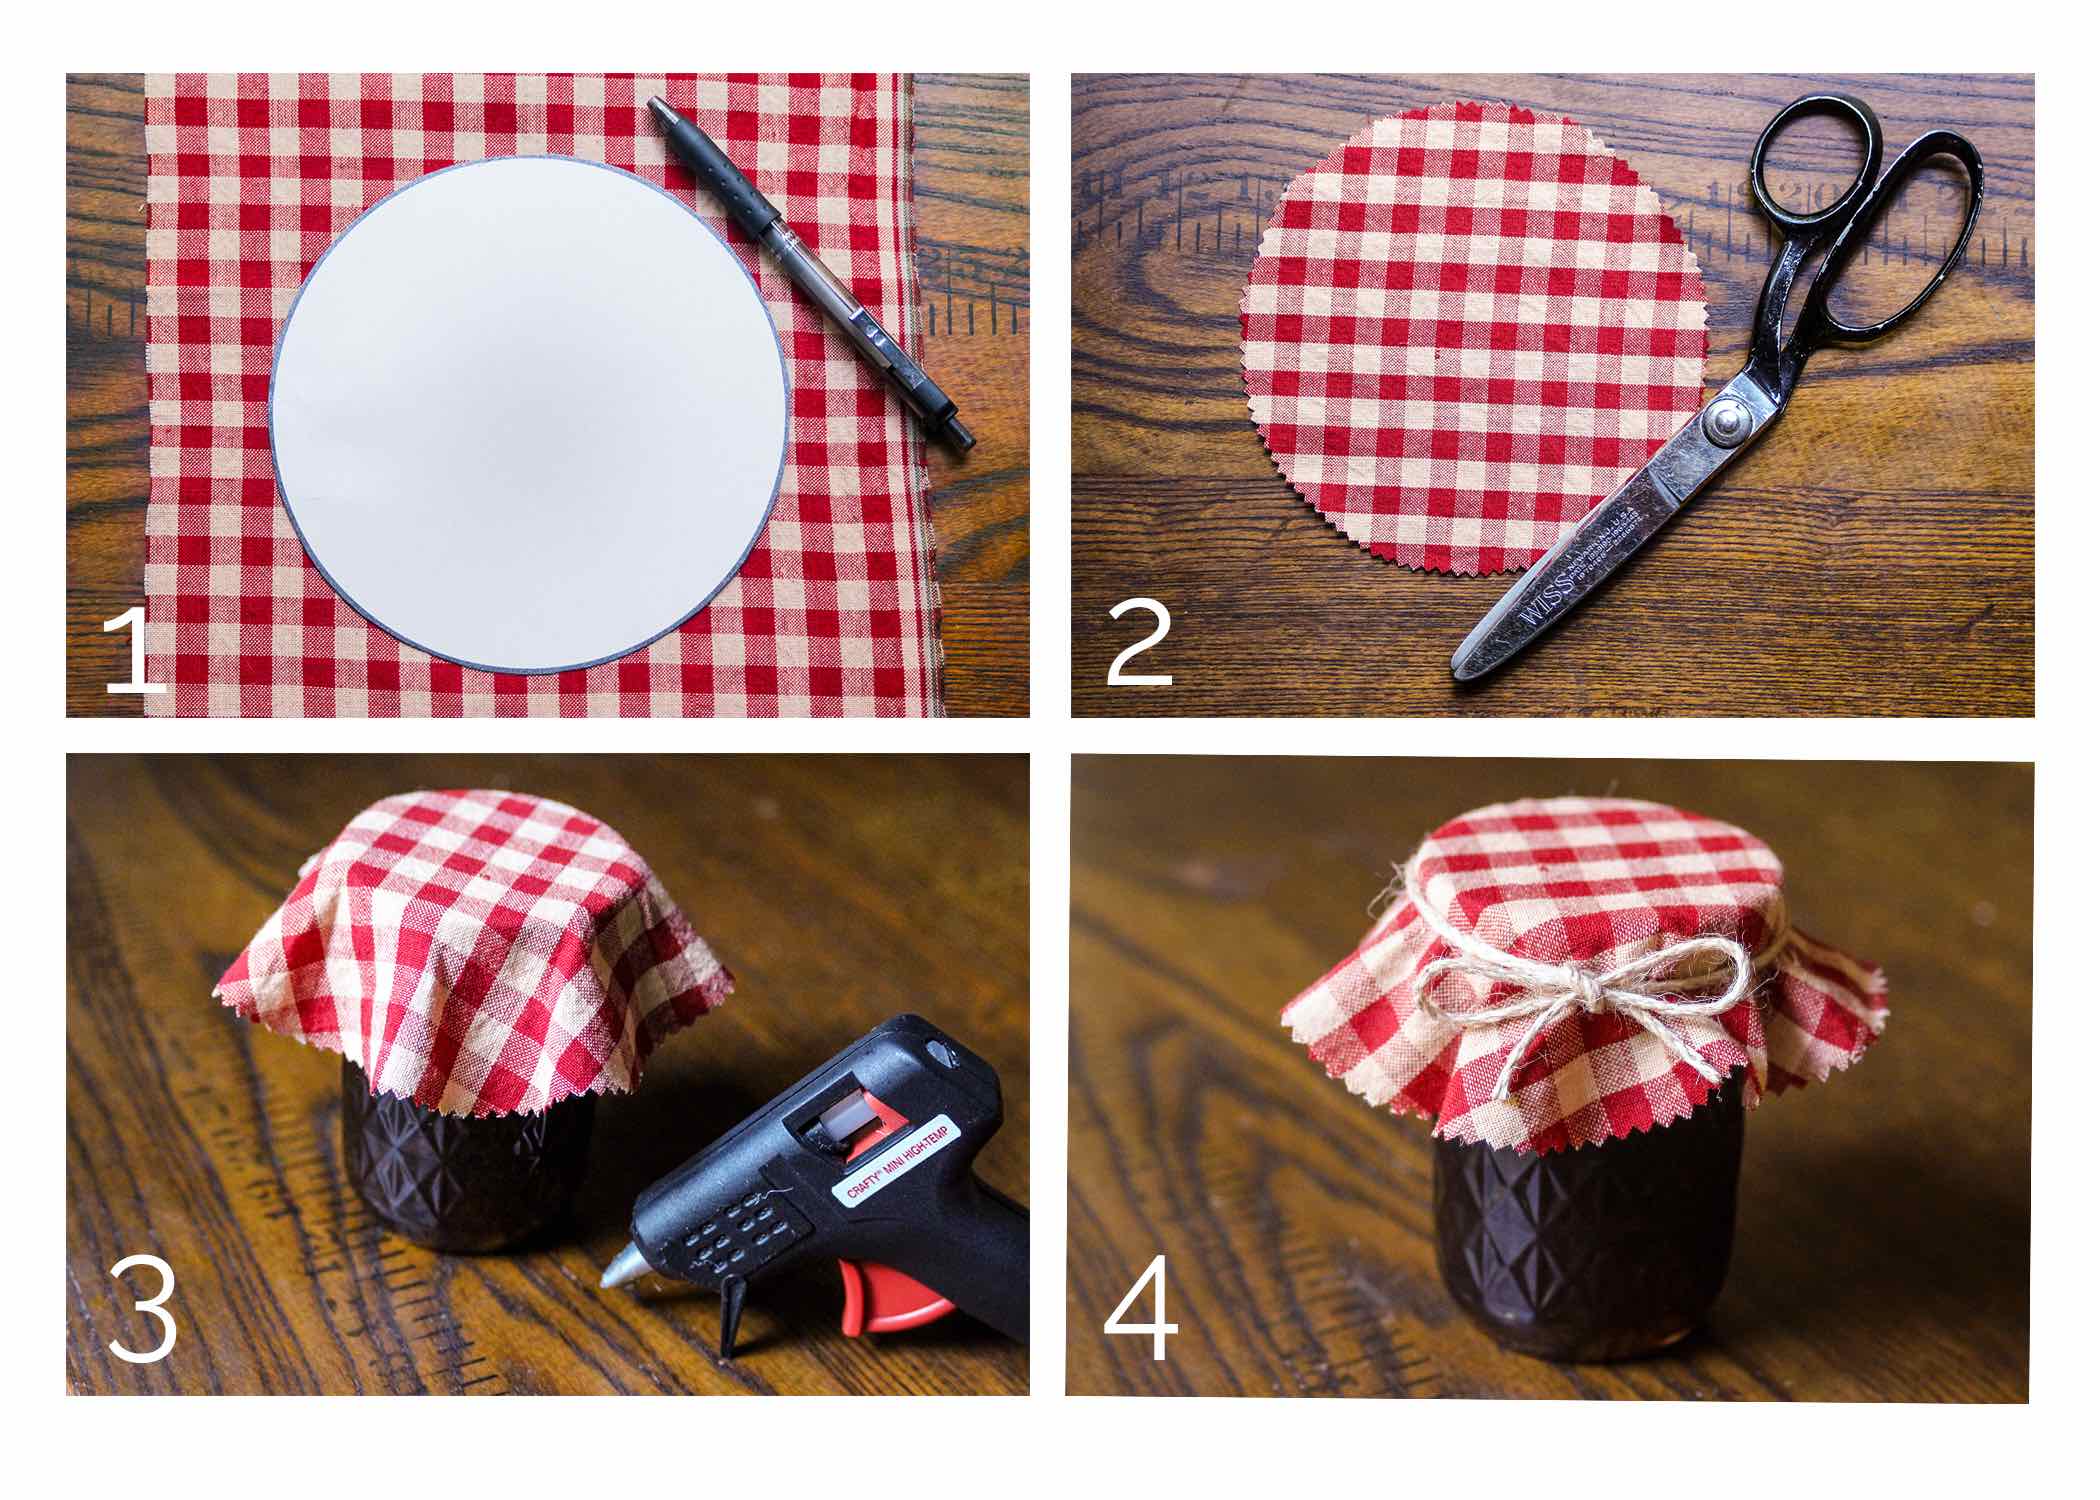
- Iron out any fold lines or wrinkles in your fabric. Lay out fabric and trace a 6-inch circle on it.
- Carefully cut out your circle. Repeat to create a total of six circles.
- Heat up your glue gun and place a few small beads of glue around the outside edge of one of the jar bands. Quickly center your fabric circle on the jar lid and press the sides down into the glue on the jar band.
- Cut your ribbon into 18-inch lengths. Tie around fabric and trim ribbon ends. Repeat with remaining fabric circles and ribbons.