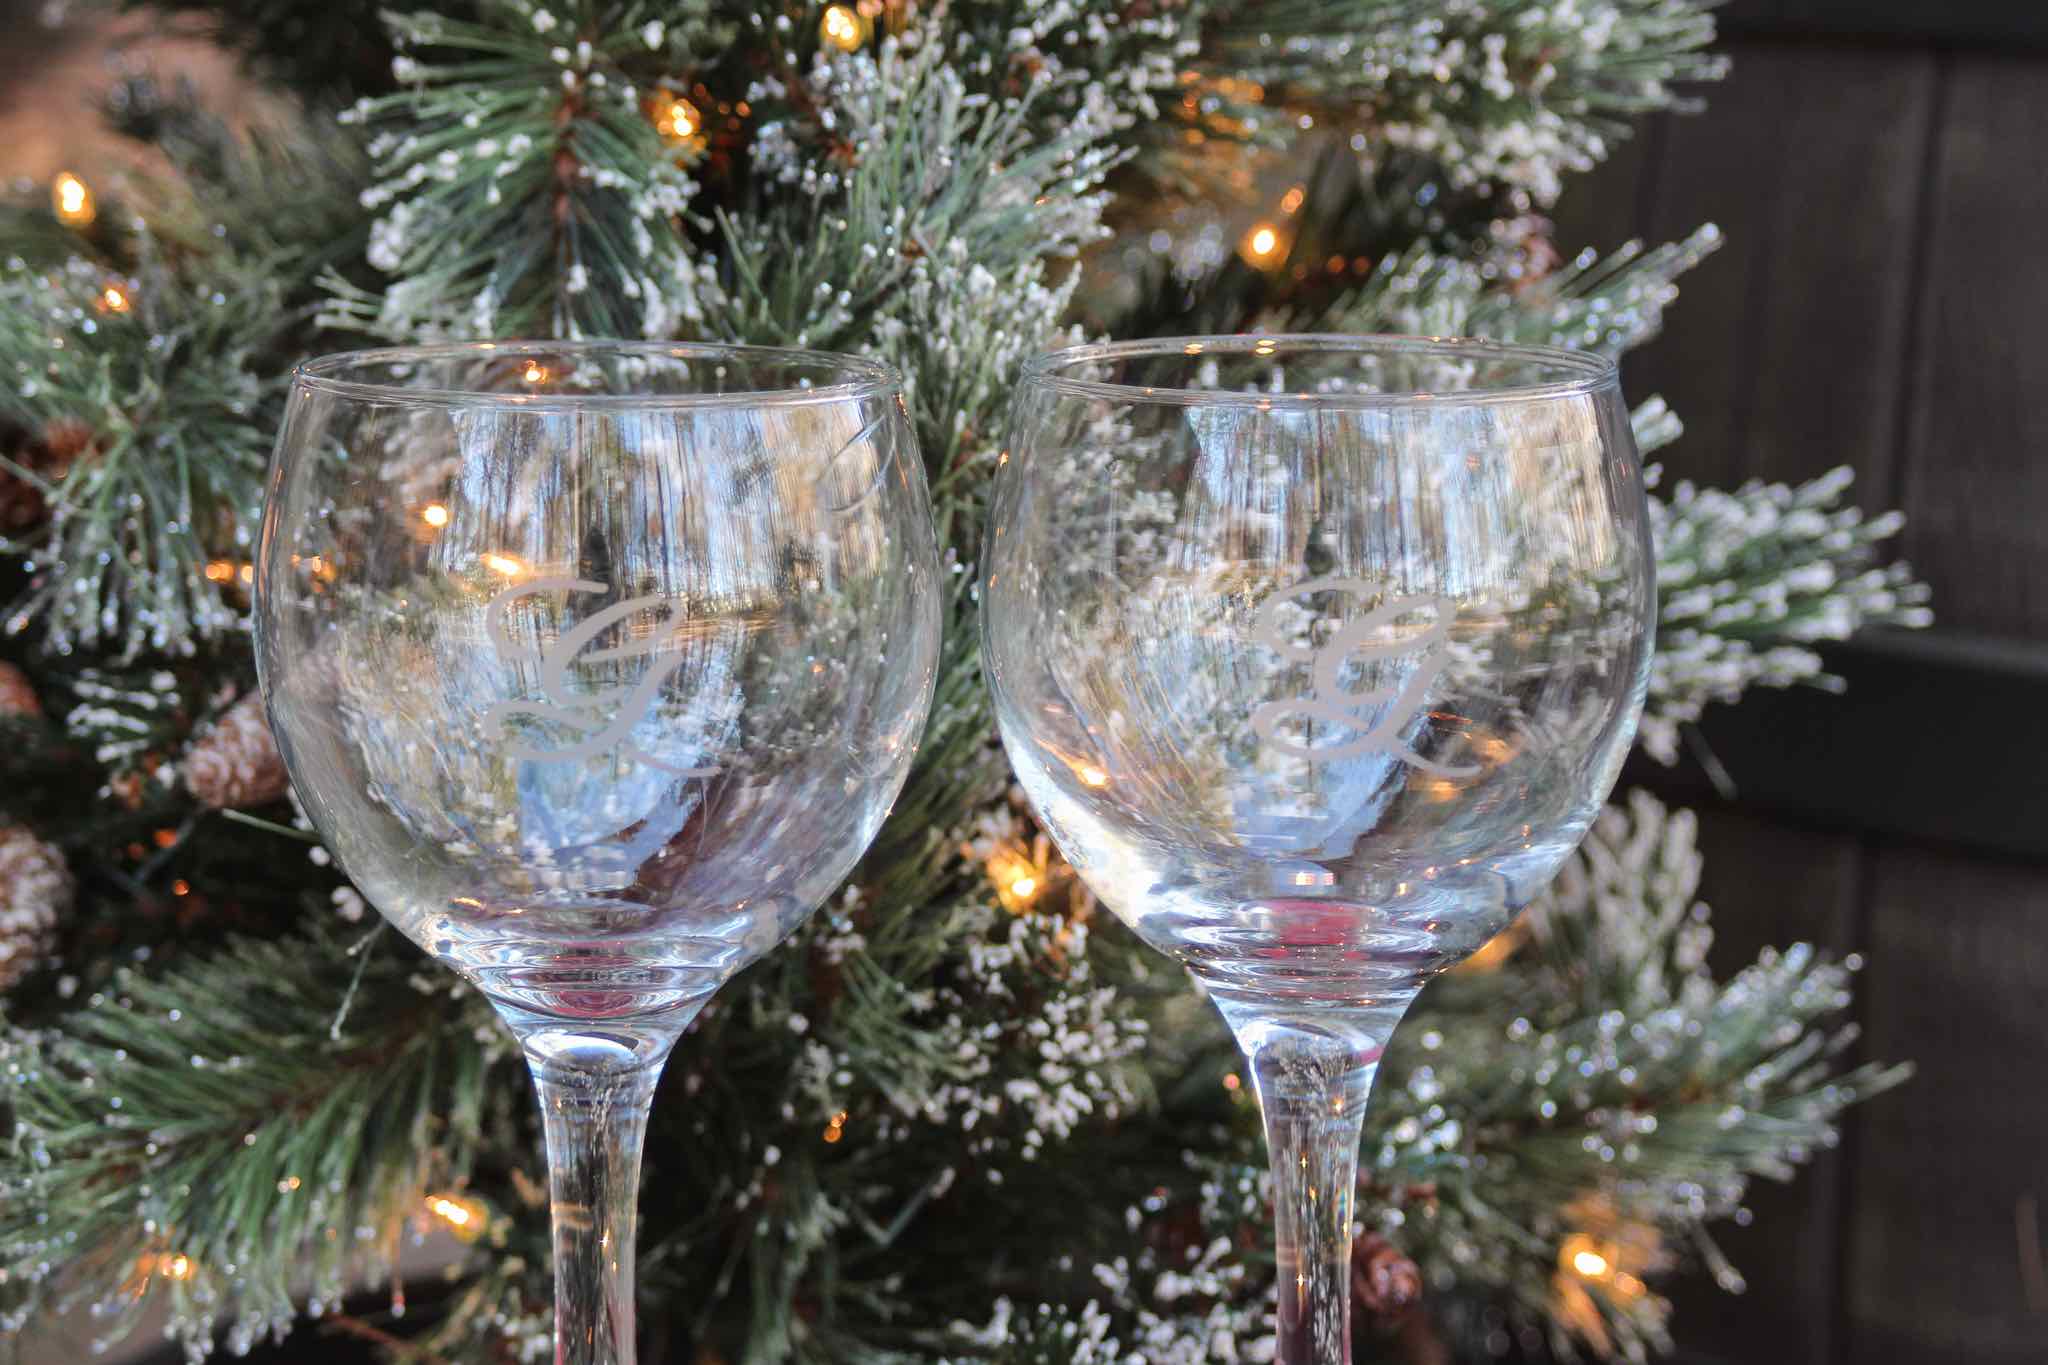
Easy DIY Etched Glass Gifts
It seems like one day you’re stuffing yourself at Thanksgiving dinner and the next, Christmas is all of a sudden only a week away. And you still have to take care of getting the gifts. It happens to all of us.
Enter glass etching. Because you can etch, well, anything glass, you can put together the perfect gift based on almost any interest. I’ve done beer mugs, cake stands, and wine glasses like I’m going to use here.
I even etched one of those glass 9 x 13 pans that comes with an insulated carrier for my mom to take to her frequent potlucks. It was quite the step up from the usual masking tape and sharpie solution.
Based on what glass items you’ve chosen, you can etch full names, initials, or whatever else you like.
In addition to being able to really personalize your gift, glass etching is very quick and easy. Here’s what you’ll need and how you do it.
This post contains affiliate links, which means we may receive a commission (at no cost to you) if you purchase something we have recommended.
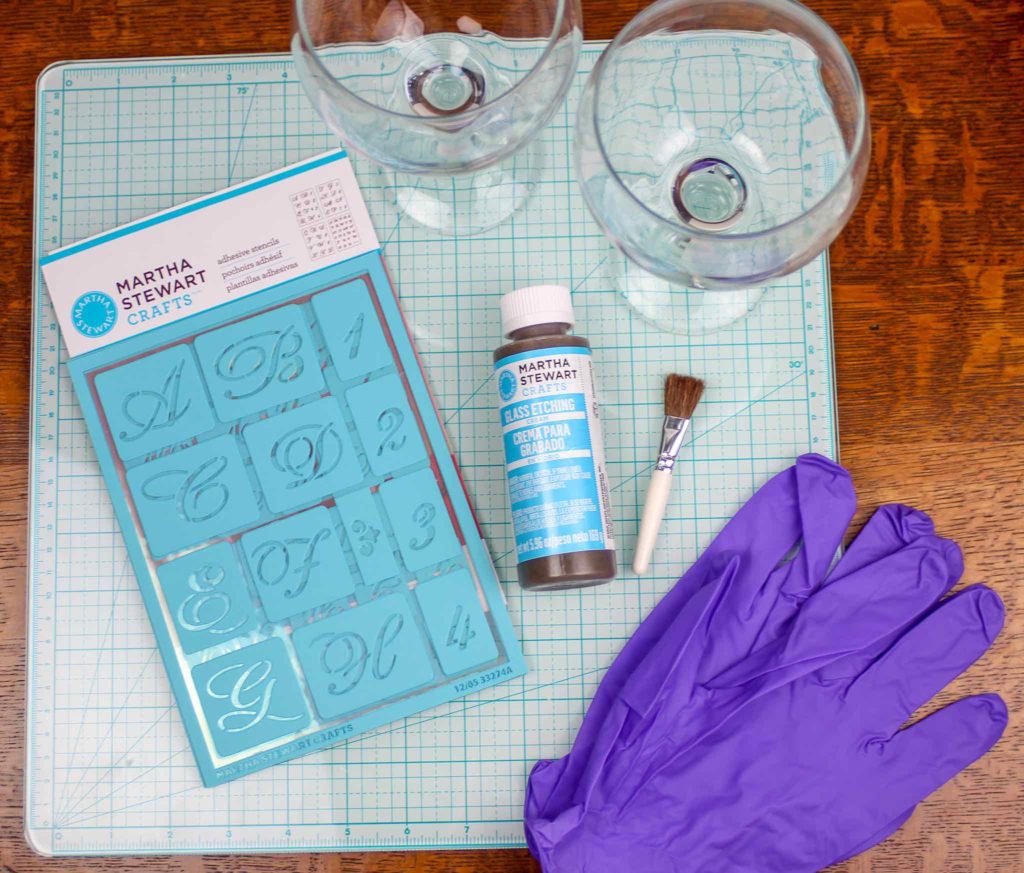
Supplies
- Something glass
- Rubbing alcohol
- Paper towels
- Protective gloves
- Glass adhesive stencils – there are a ton of choices in terms of styles, but keep in mind that the more curved the glass surface the smaller font the better
- Glass etching cream and brush
Instructions

- Clean the glass with the rubbing alcohol and paper towels and let fully dry.
- Place adhesive stencil(s) on the glass, making sure the stencil is totally smooth.
- Spread a generous but even layer of the glass etching cream over the stencil with the brush. You don’t want there to be any bubbles or missed spots.
- Check your glass etching cream for the time you need to let it sit – mine was 15 minutes.
- Rinse off glass etching cream, then carefully peel off stencil. Make sure to thoroughly clean stencil and let it dry before reusing.
Note that many stencil kits only come with one of each letter. If what you want to etch uses more than one of a letter and you don’t want to buy multiple stencil sets, repeat the process as necessary.